Tag Archives: st louis video

The Collaborative Process with Business Videographers

In today’s digital age, video has become a powerful tool for businesses to convey their messages, tell their stories, and connect with their audience. Whether it’s for marketing, training, or communication purposes, businesses are increasingly turning to professional videographers to create high-quality videos. In this comprehensive guide, we will delve into the collaborative process with business videographers, shedding light on how you can make the most of your partnership with them to achieve your video production goals.

Collaborate on creating a compelling script that aligns with your objectives.

Understanding the Role of Business Videographers

Before we dive into the collaborative process, let’s first establish a clear understanding of what business videographers do and why their expertise is invaluable for your video production needs.

1. Expertise in Storytelling: Business videographers are not just technical experts; they are skilled storytellers. They understand how to craft narratives that resonate with your target audience and effectively convey your message.

2. Technical Proficiency: Videographers possess a deep knowledge of camera equipment, lighting, sound, and editing techniques. This expertise ensures that your videos are of the highest quality, both visually and audibly.

3. Creativity and Innovation: Videographers bring fresh and creative ideas to the table. They can take your concepts and transform them into visually engaging and memorable videos.

4. Project Management: They are adept at managing all aspects of video production, from planning and pre-production to shooting and post-production. This allows you to focus on your business while they handle the technical details.

Now that we have a clear understanding of the role of business videographers, let’s explore the collaborative process involved in creating impactful videos.

The Collaborative Process with Business Videographers

Creating a successful video involves close collaboration between you (the client) and the business videographer. Here’s a step-by-step breakdown of the collaborative process:

1. Initial Consultation and Planning

The journey begins with an initial consultation between you and the videographer. During this meeting, you’ll discuss your goals, objectives, target audience, and the key message you want to convey. It’s essential to provide as much information as possible to ensure a clear understanding.

– Key Takeaways:

  • Share your vision and objectives.
  • Define your target audience.
  • Discuss budget and timeline.

2. Pre-Production

Once the project scope is defined, the videographer will move into the pre-production phase. This is where the groundwork is laid for the entire project.

– Key Pre-Production Activities:

  • Scriptwriting: Collaborate on creating a compelling script that aligns with your objectives.
  • Storyboarding: Visualize the video through storyboards or shot lists.
  • Location Scouting: Determine suitable shooting locations.
  • Casting: If actors or presenters are required, the videographer can assist with casting.
  • Equipment Setup: Ensure that all necessary equipment is ready for the shoot.
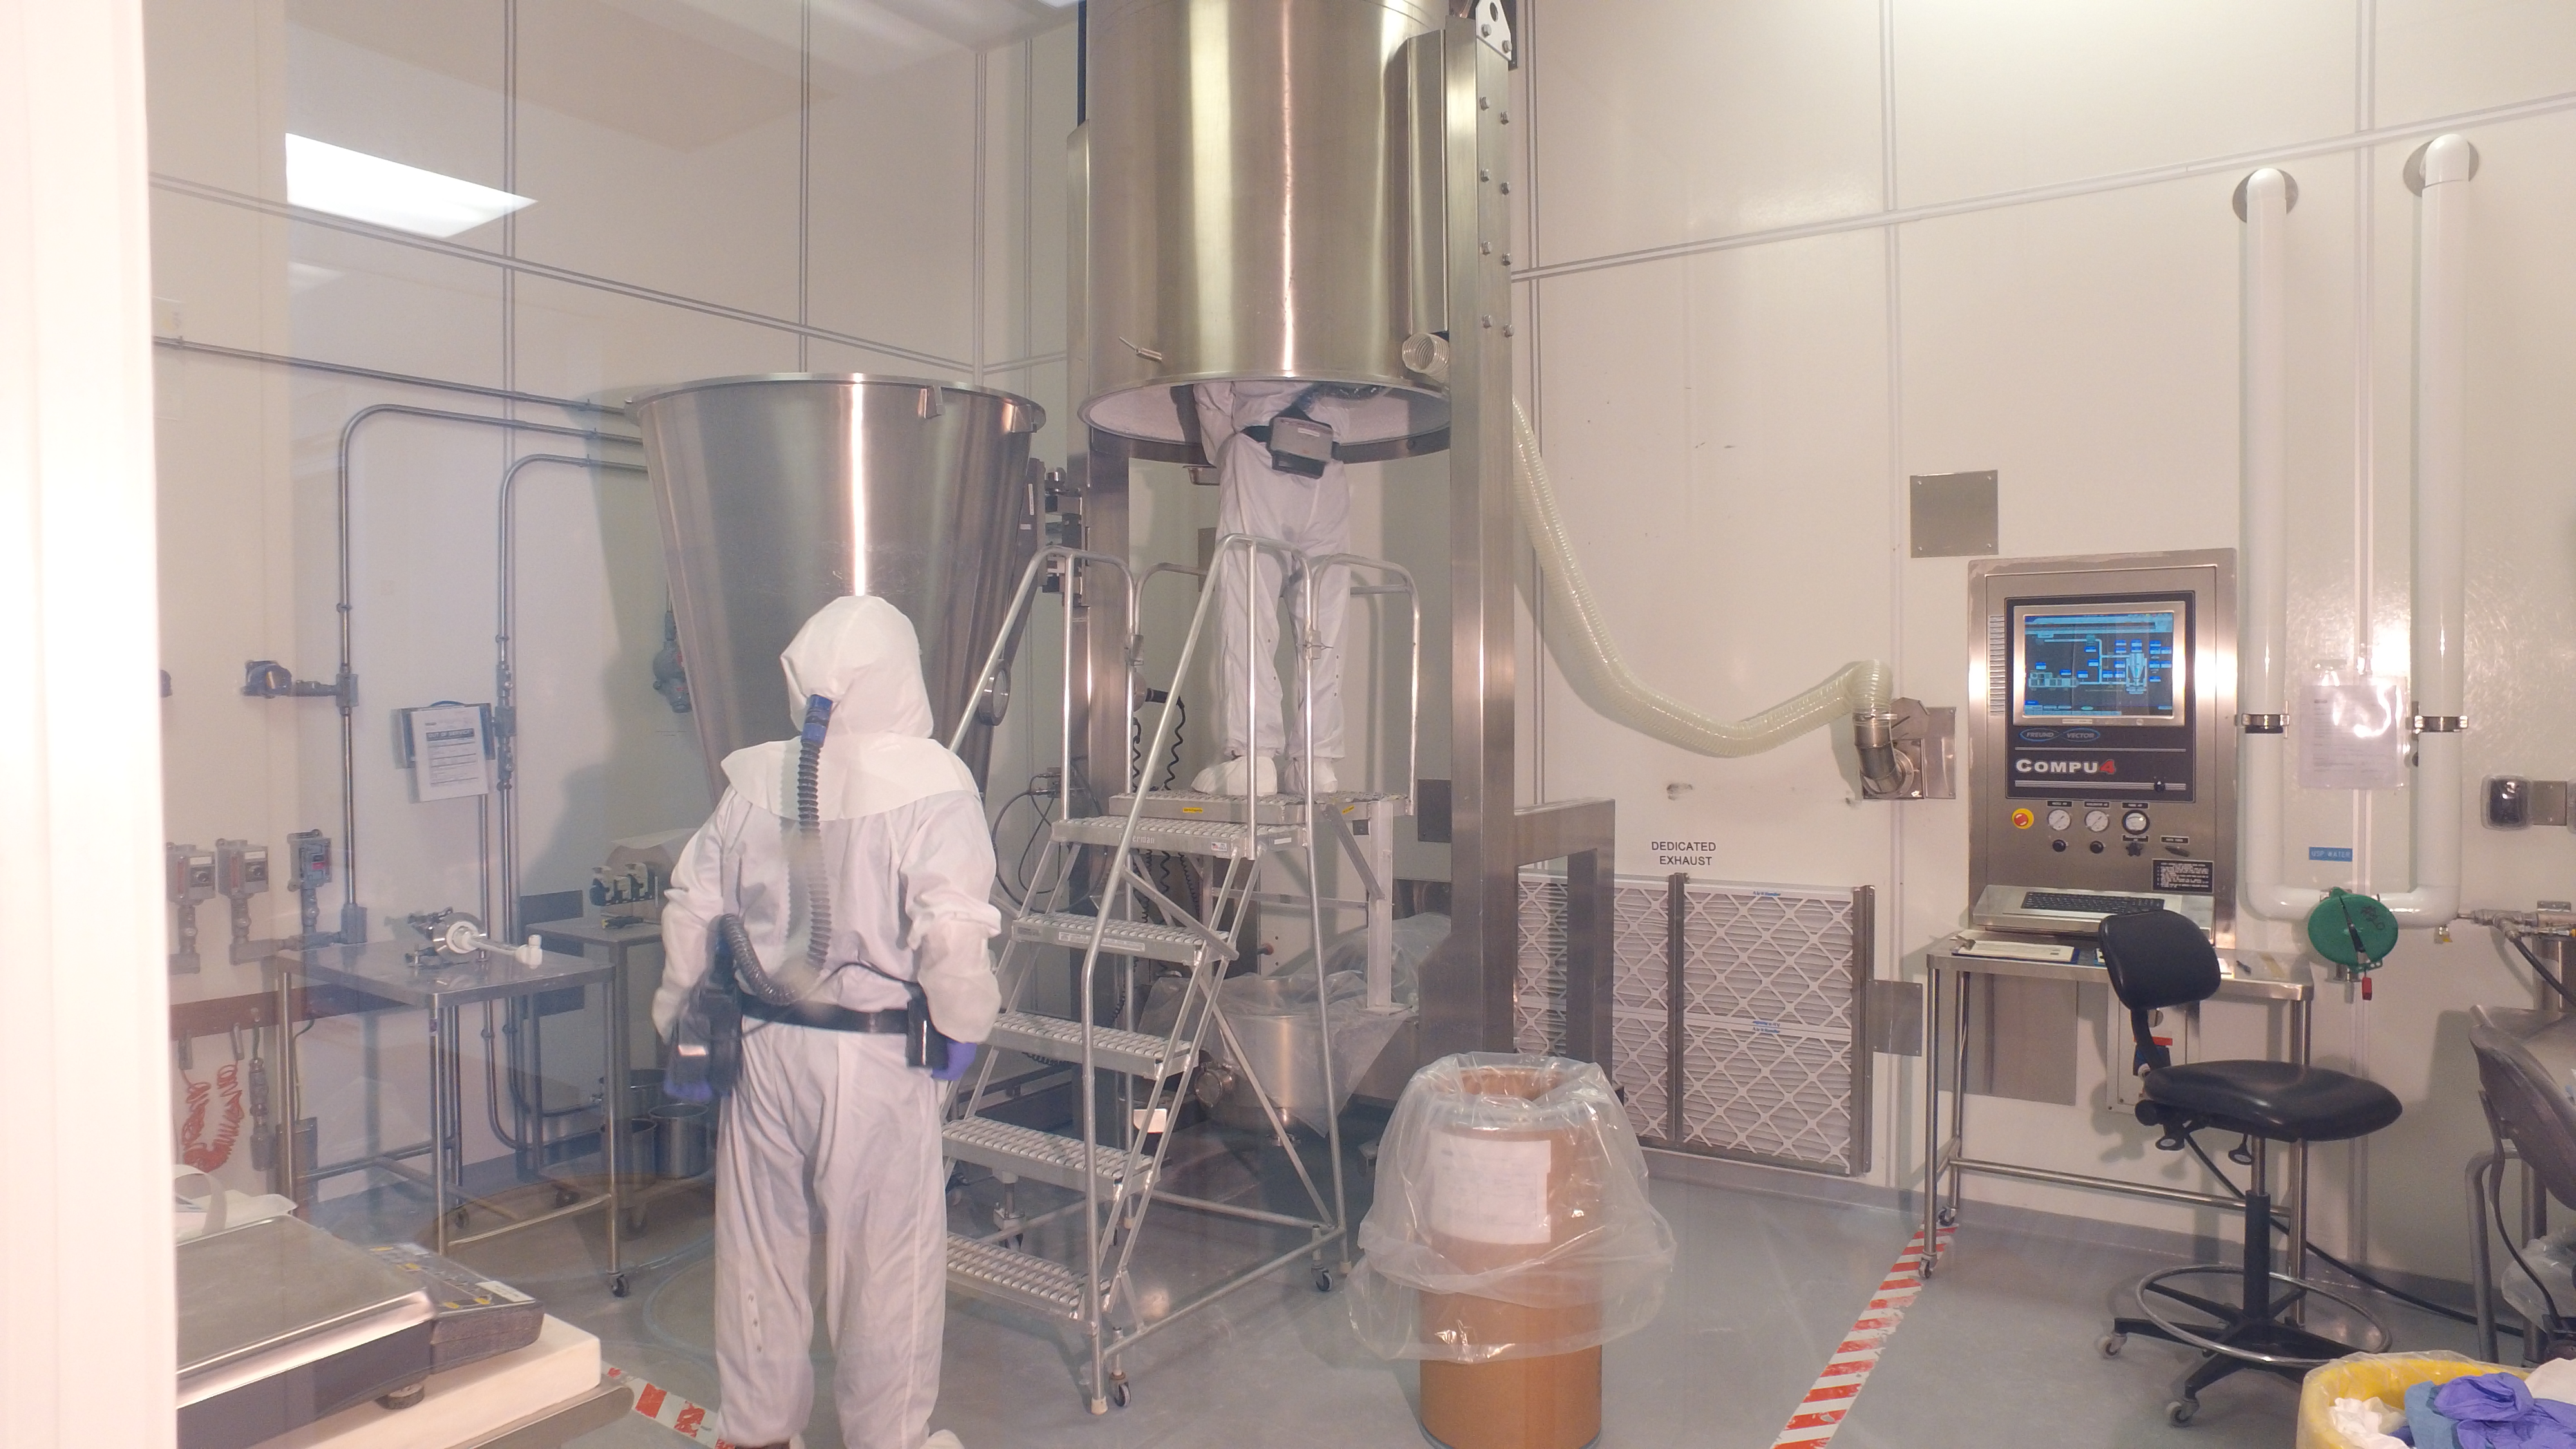
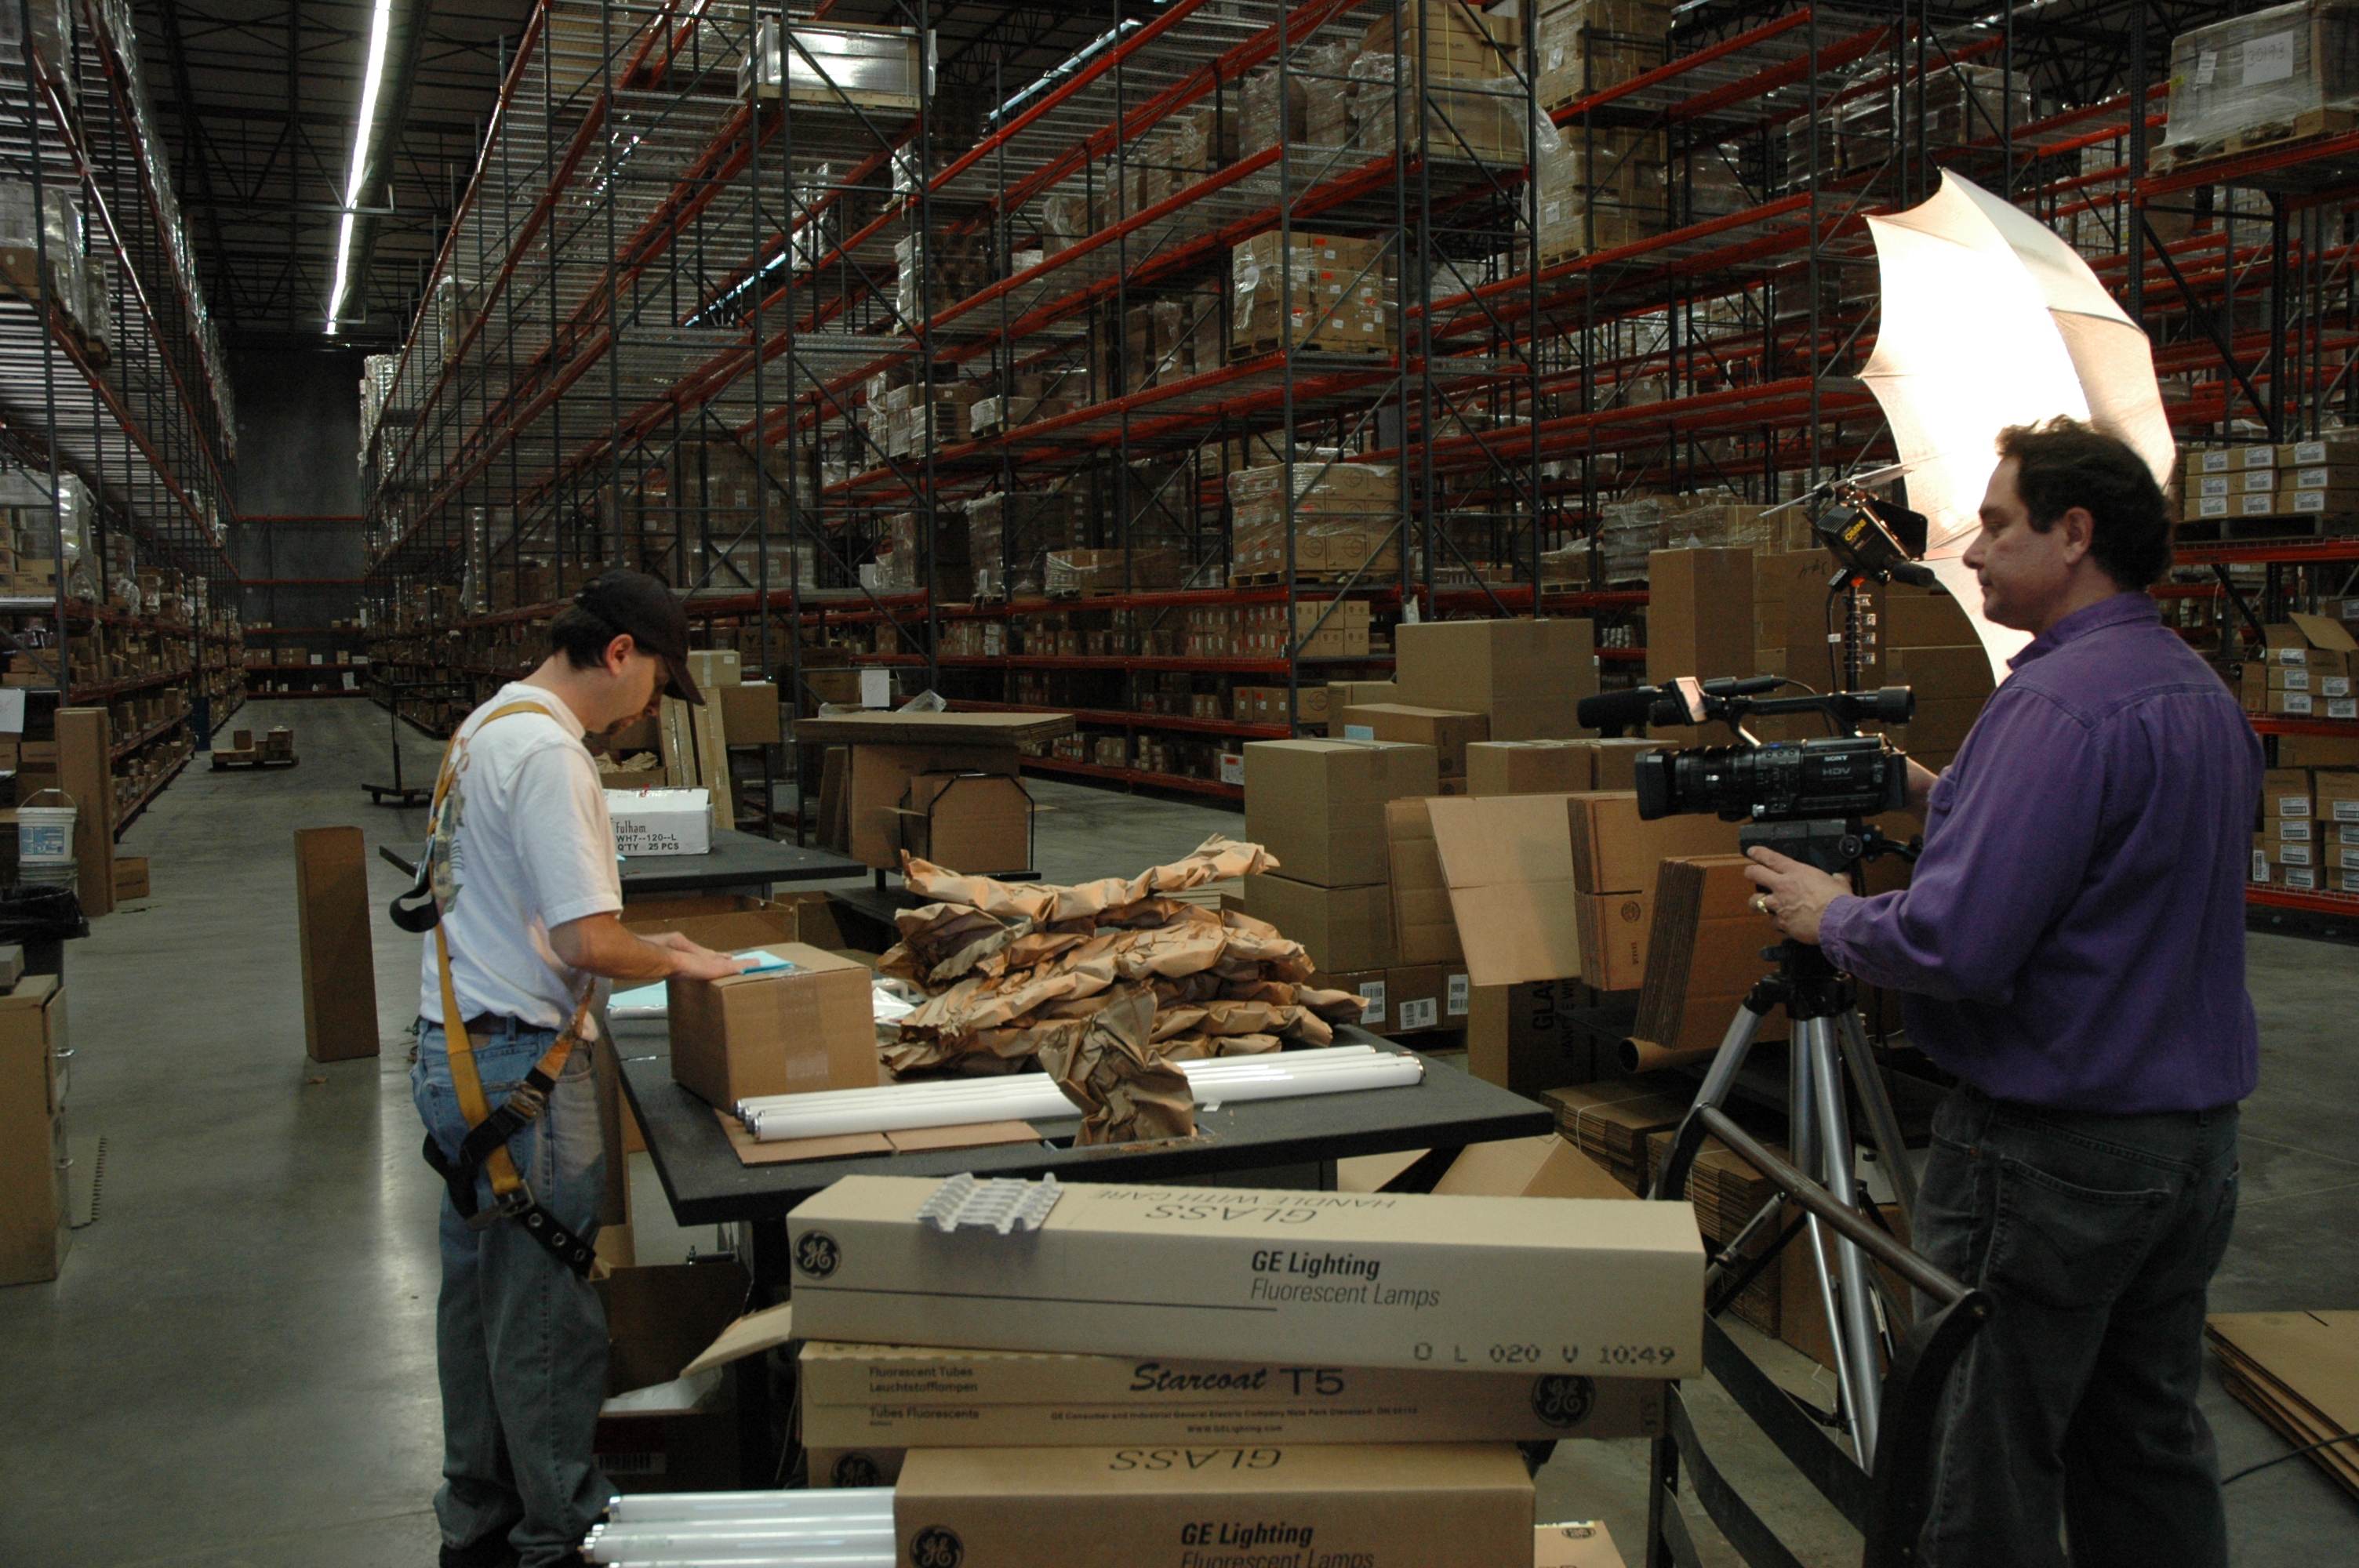
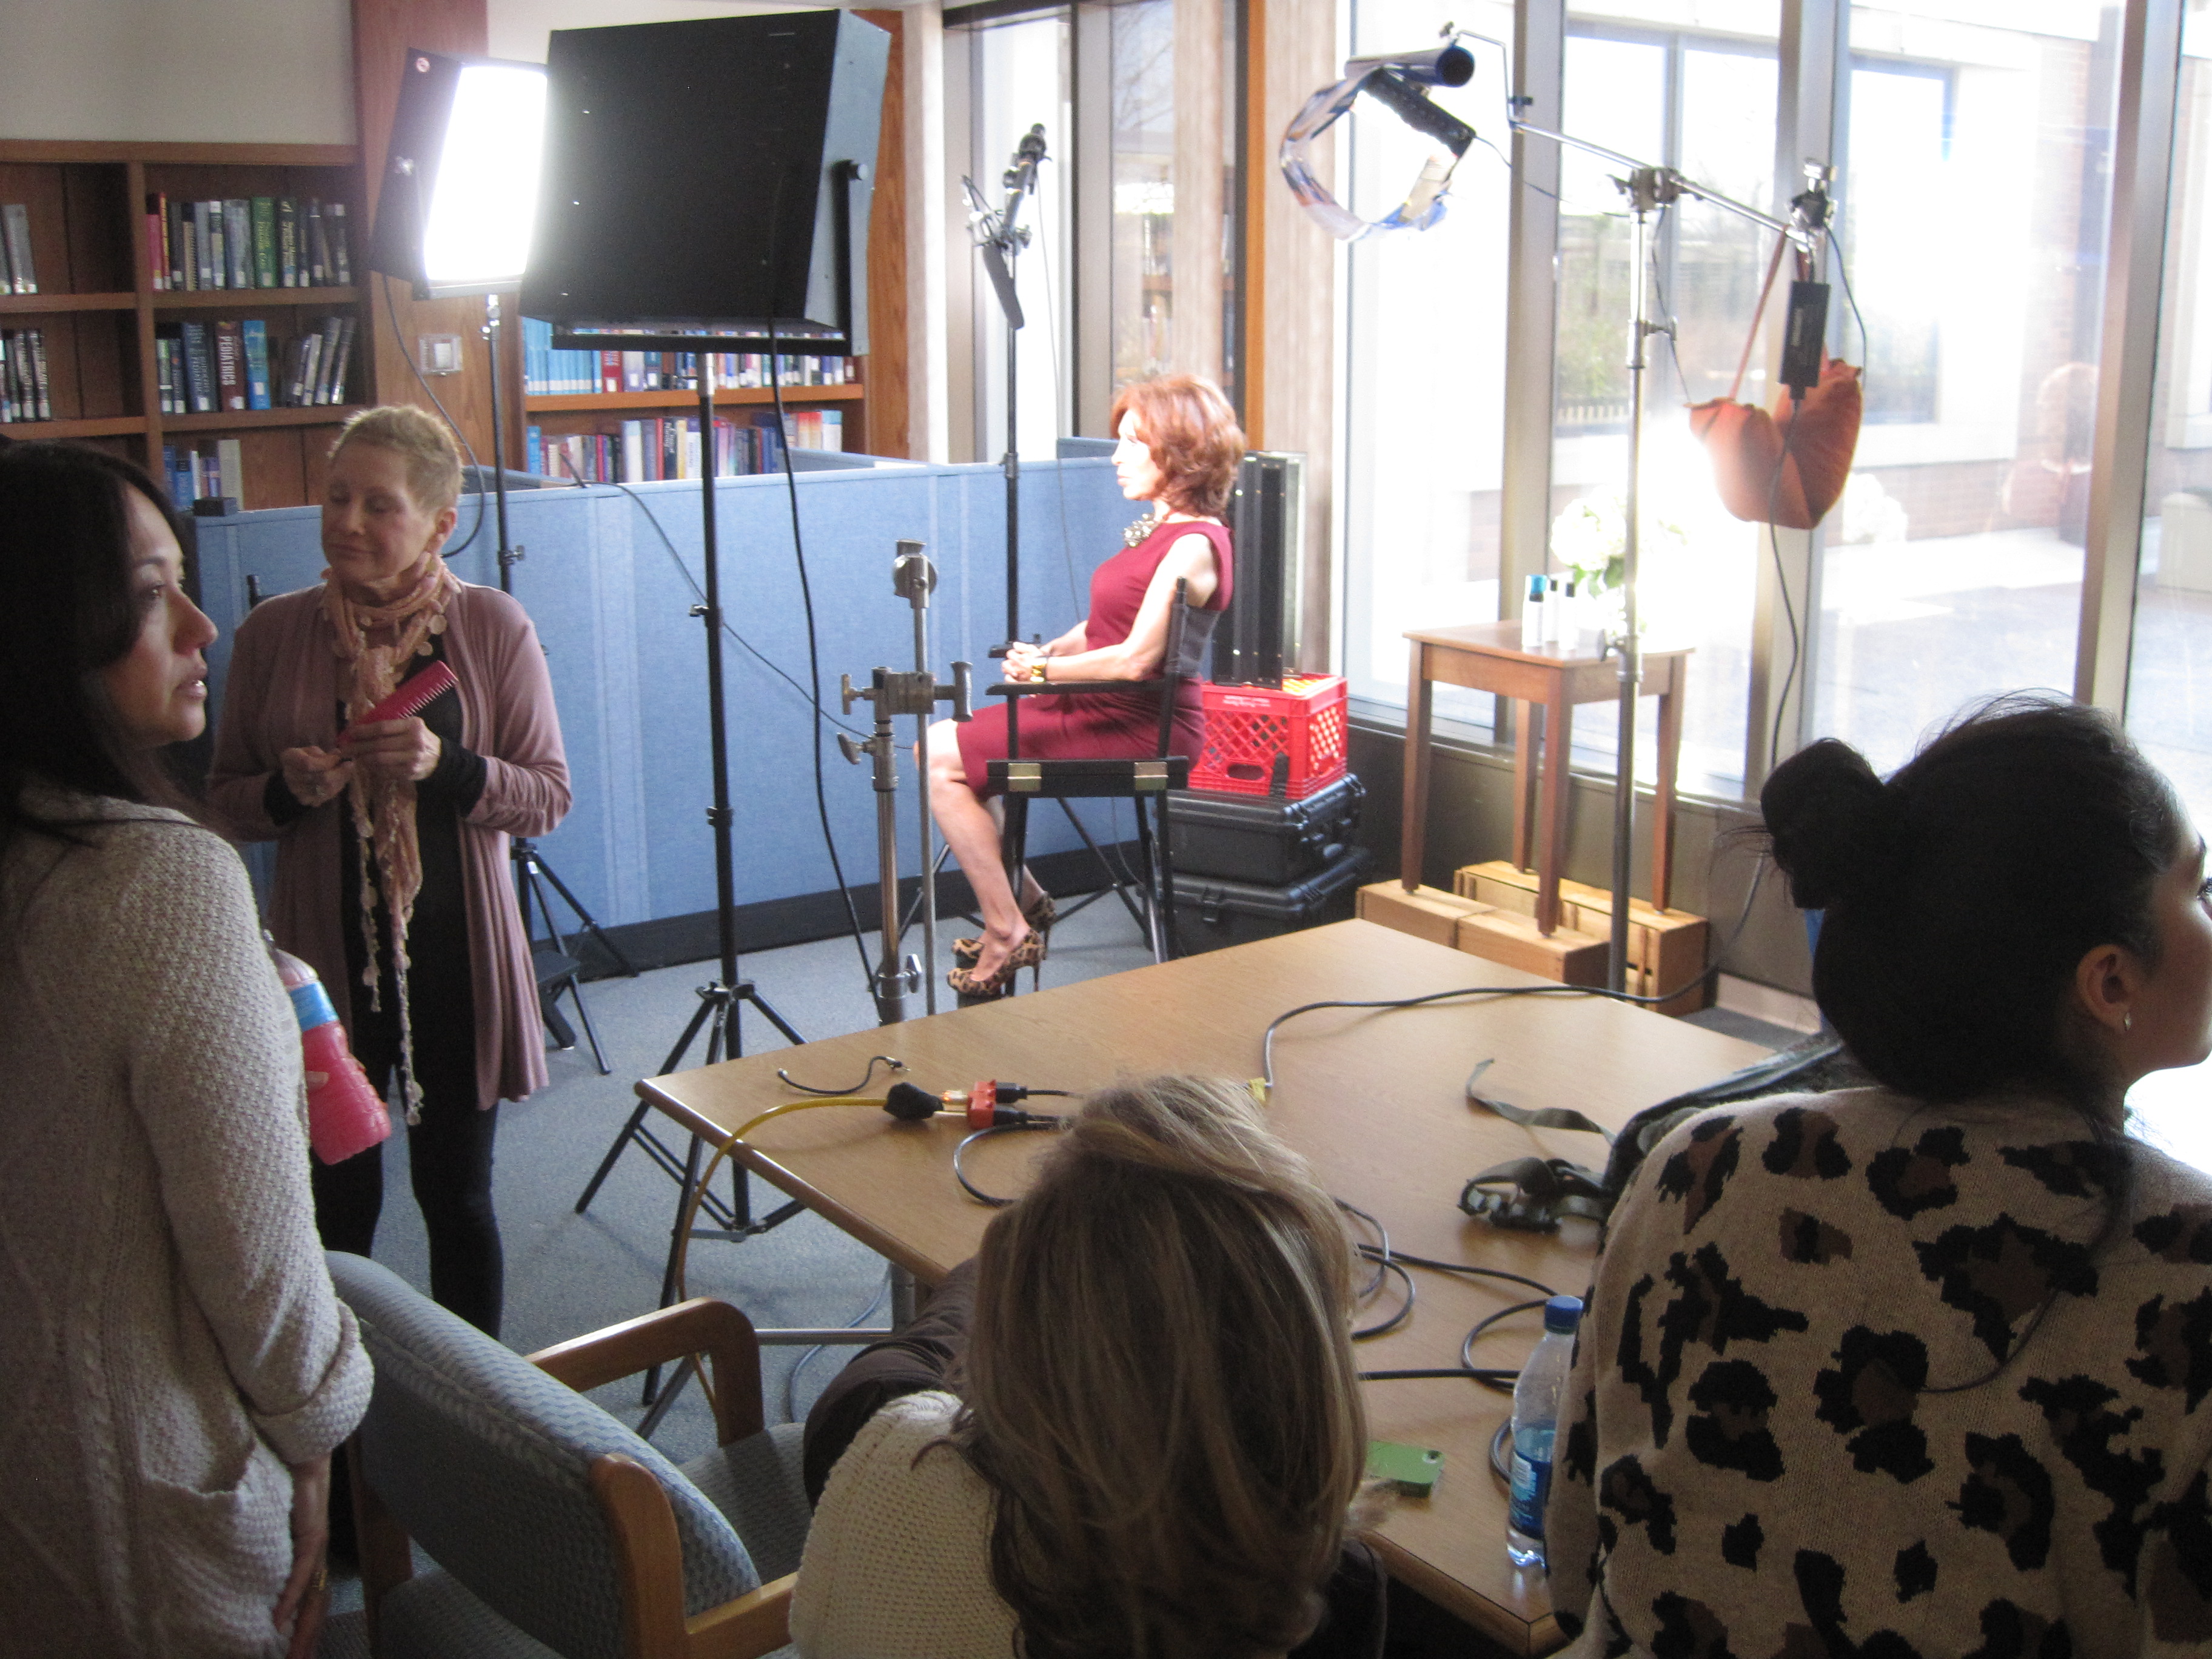
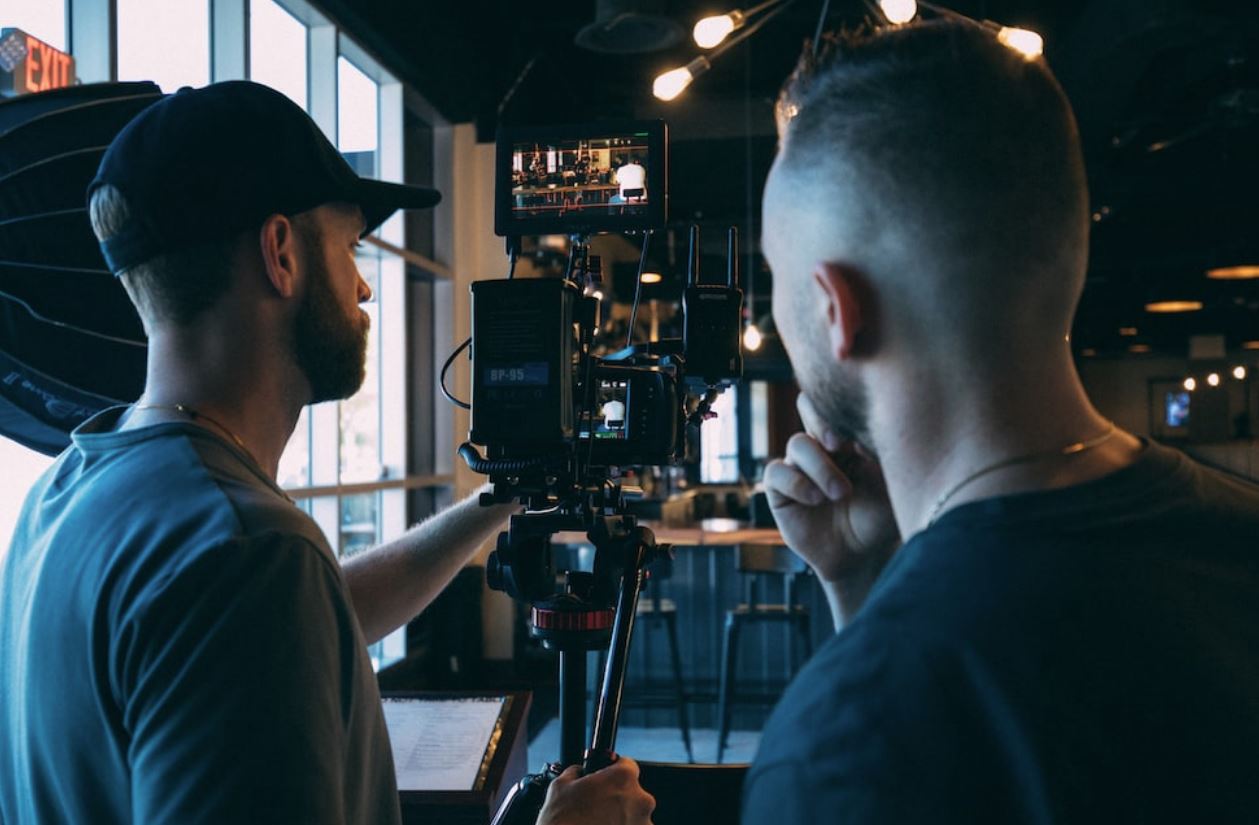
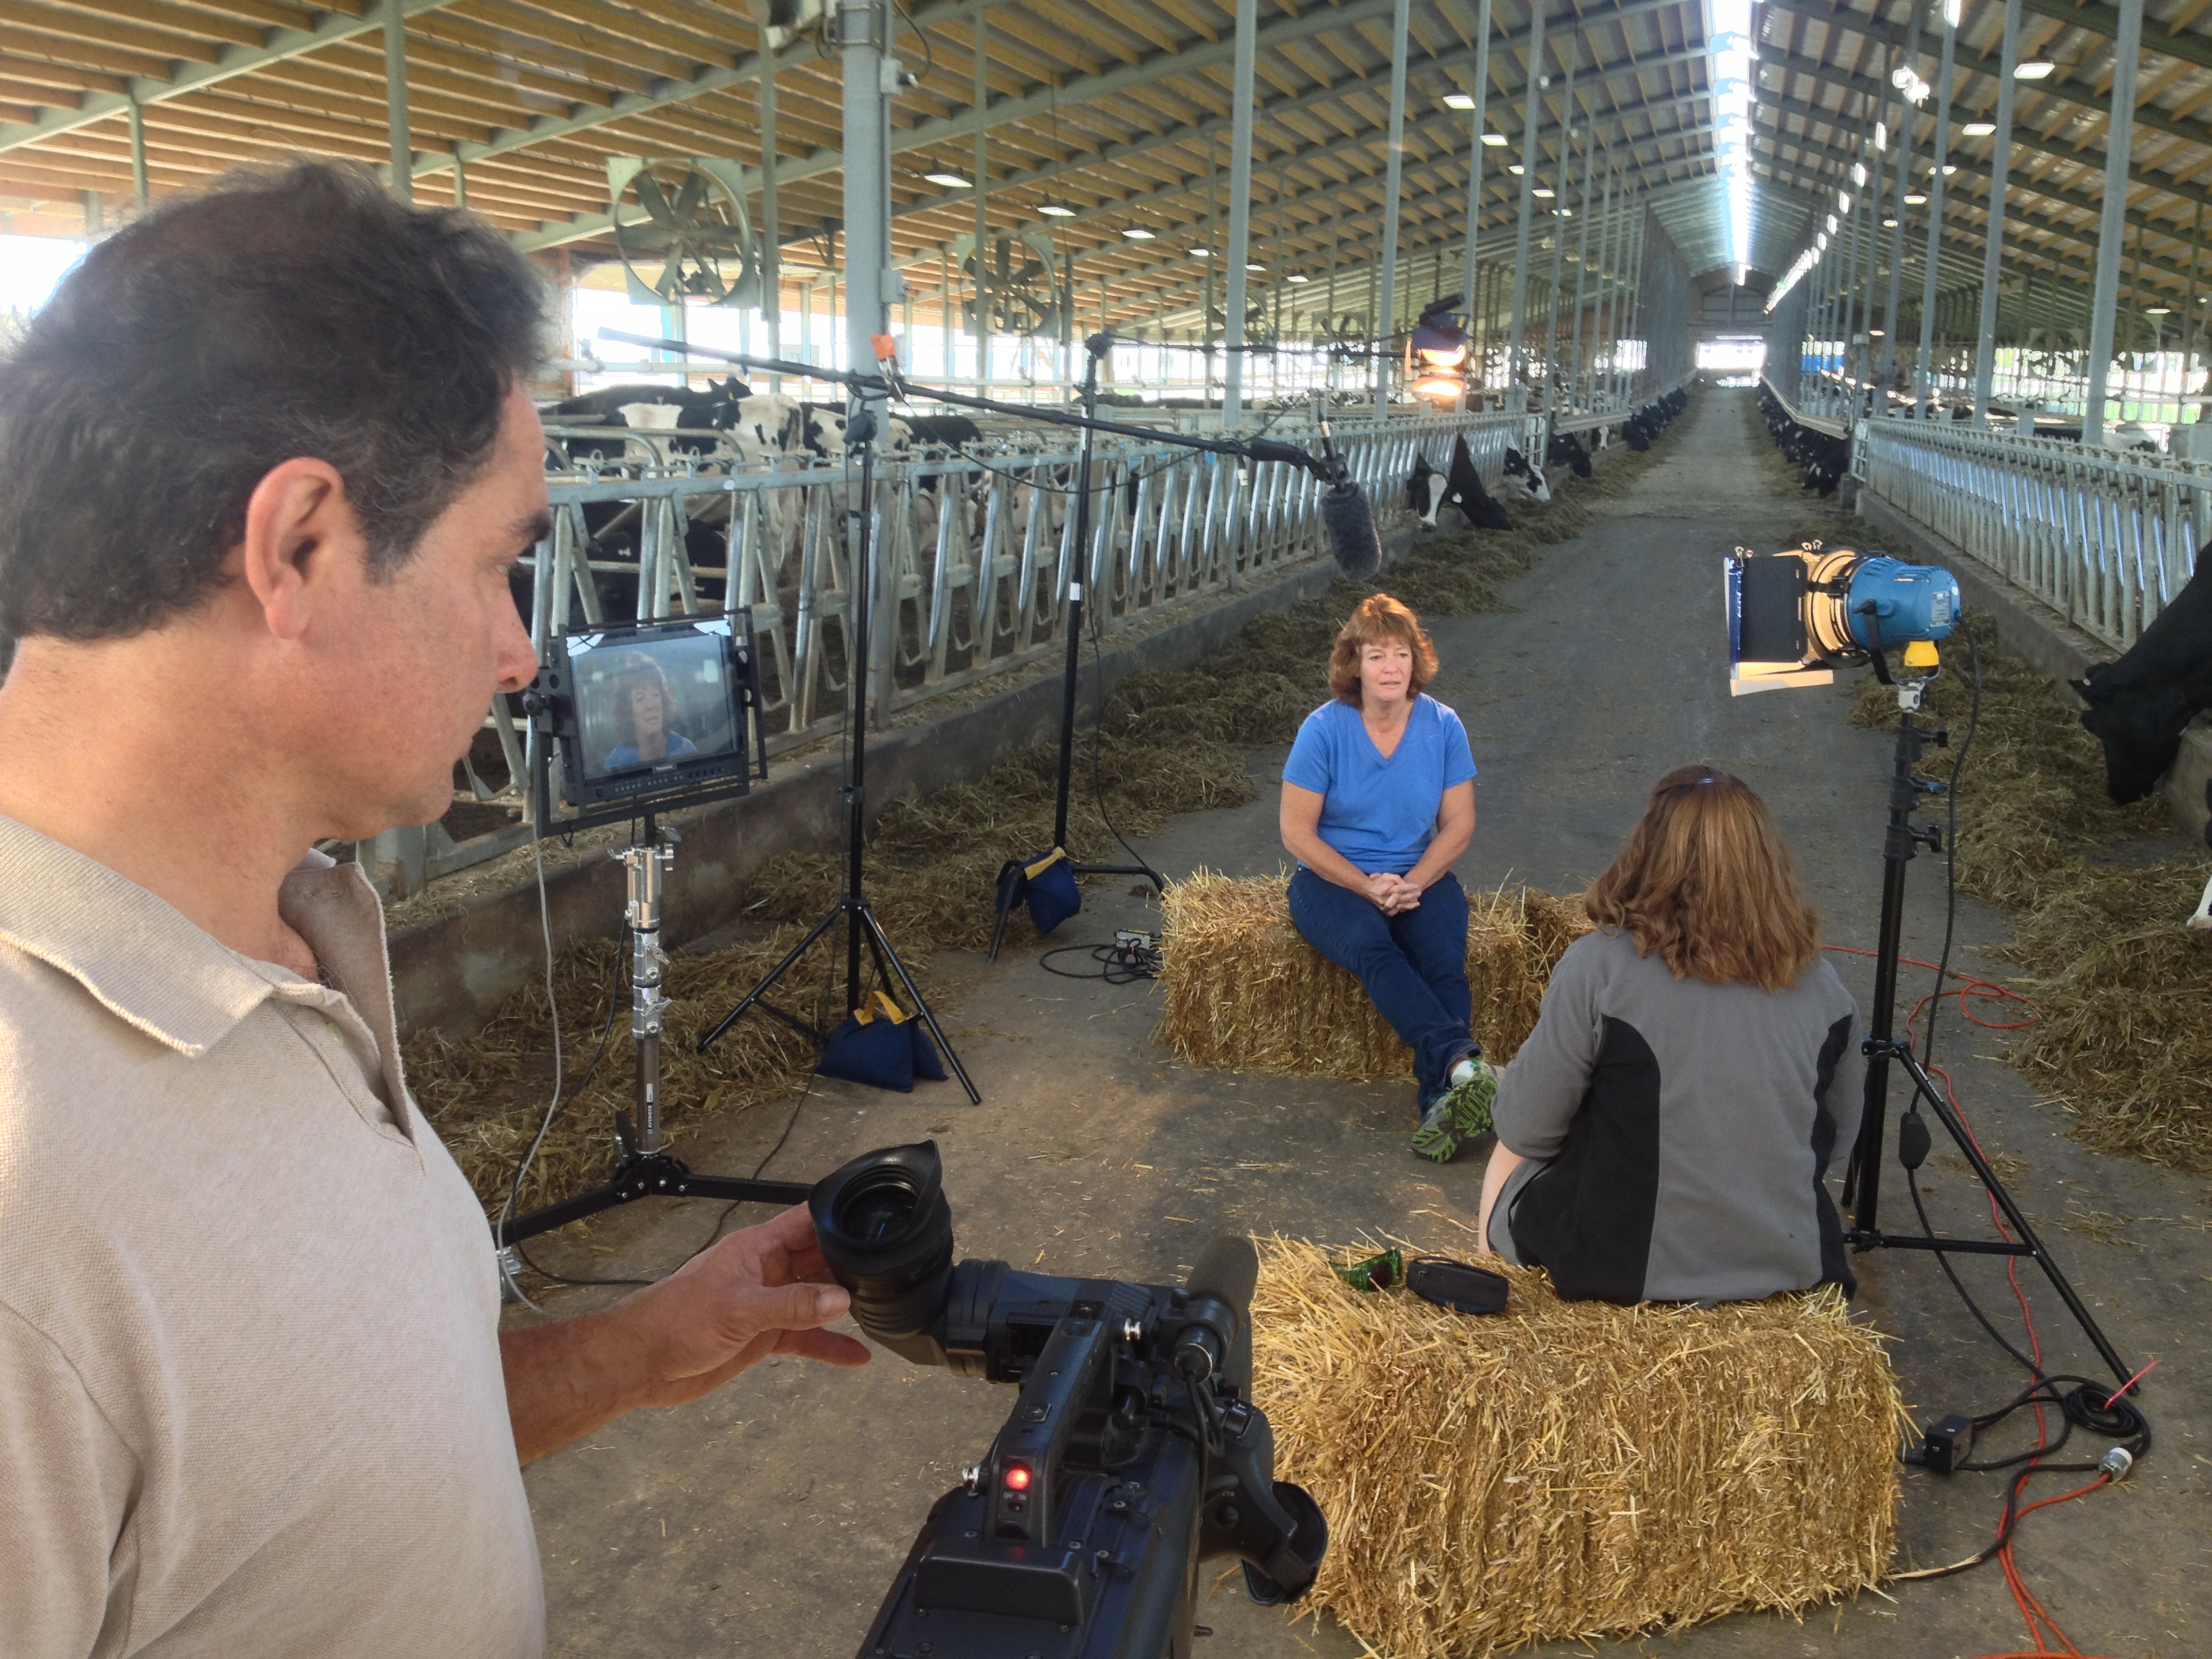
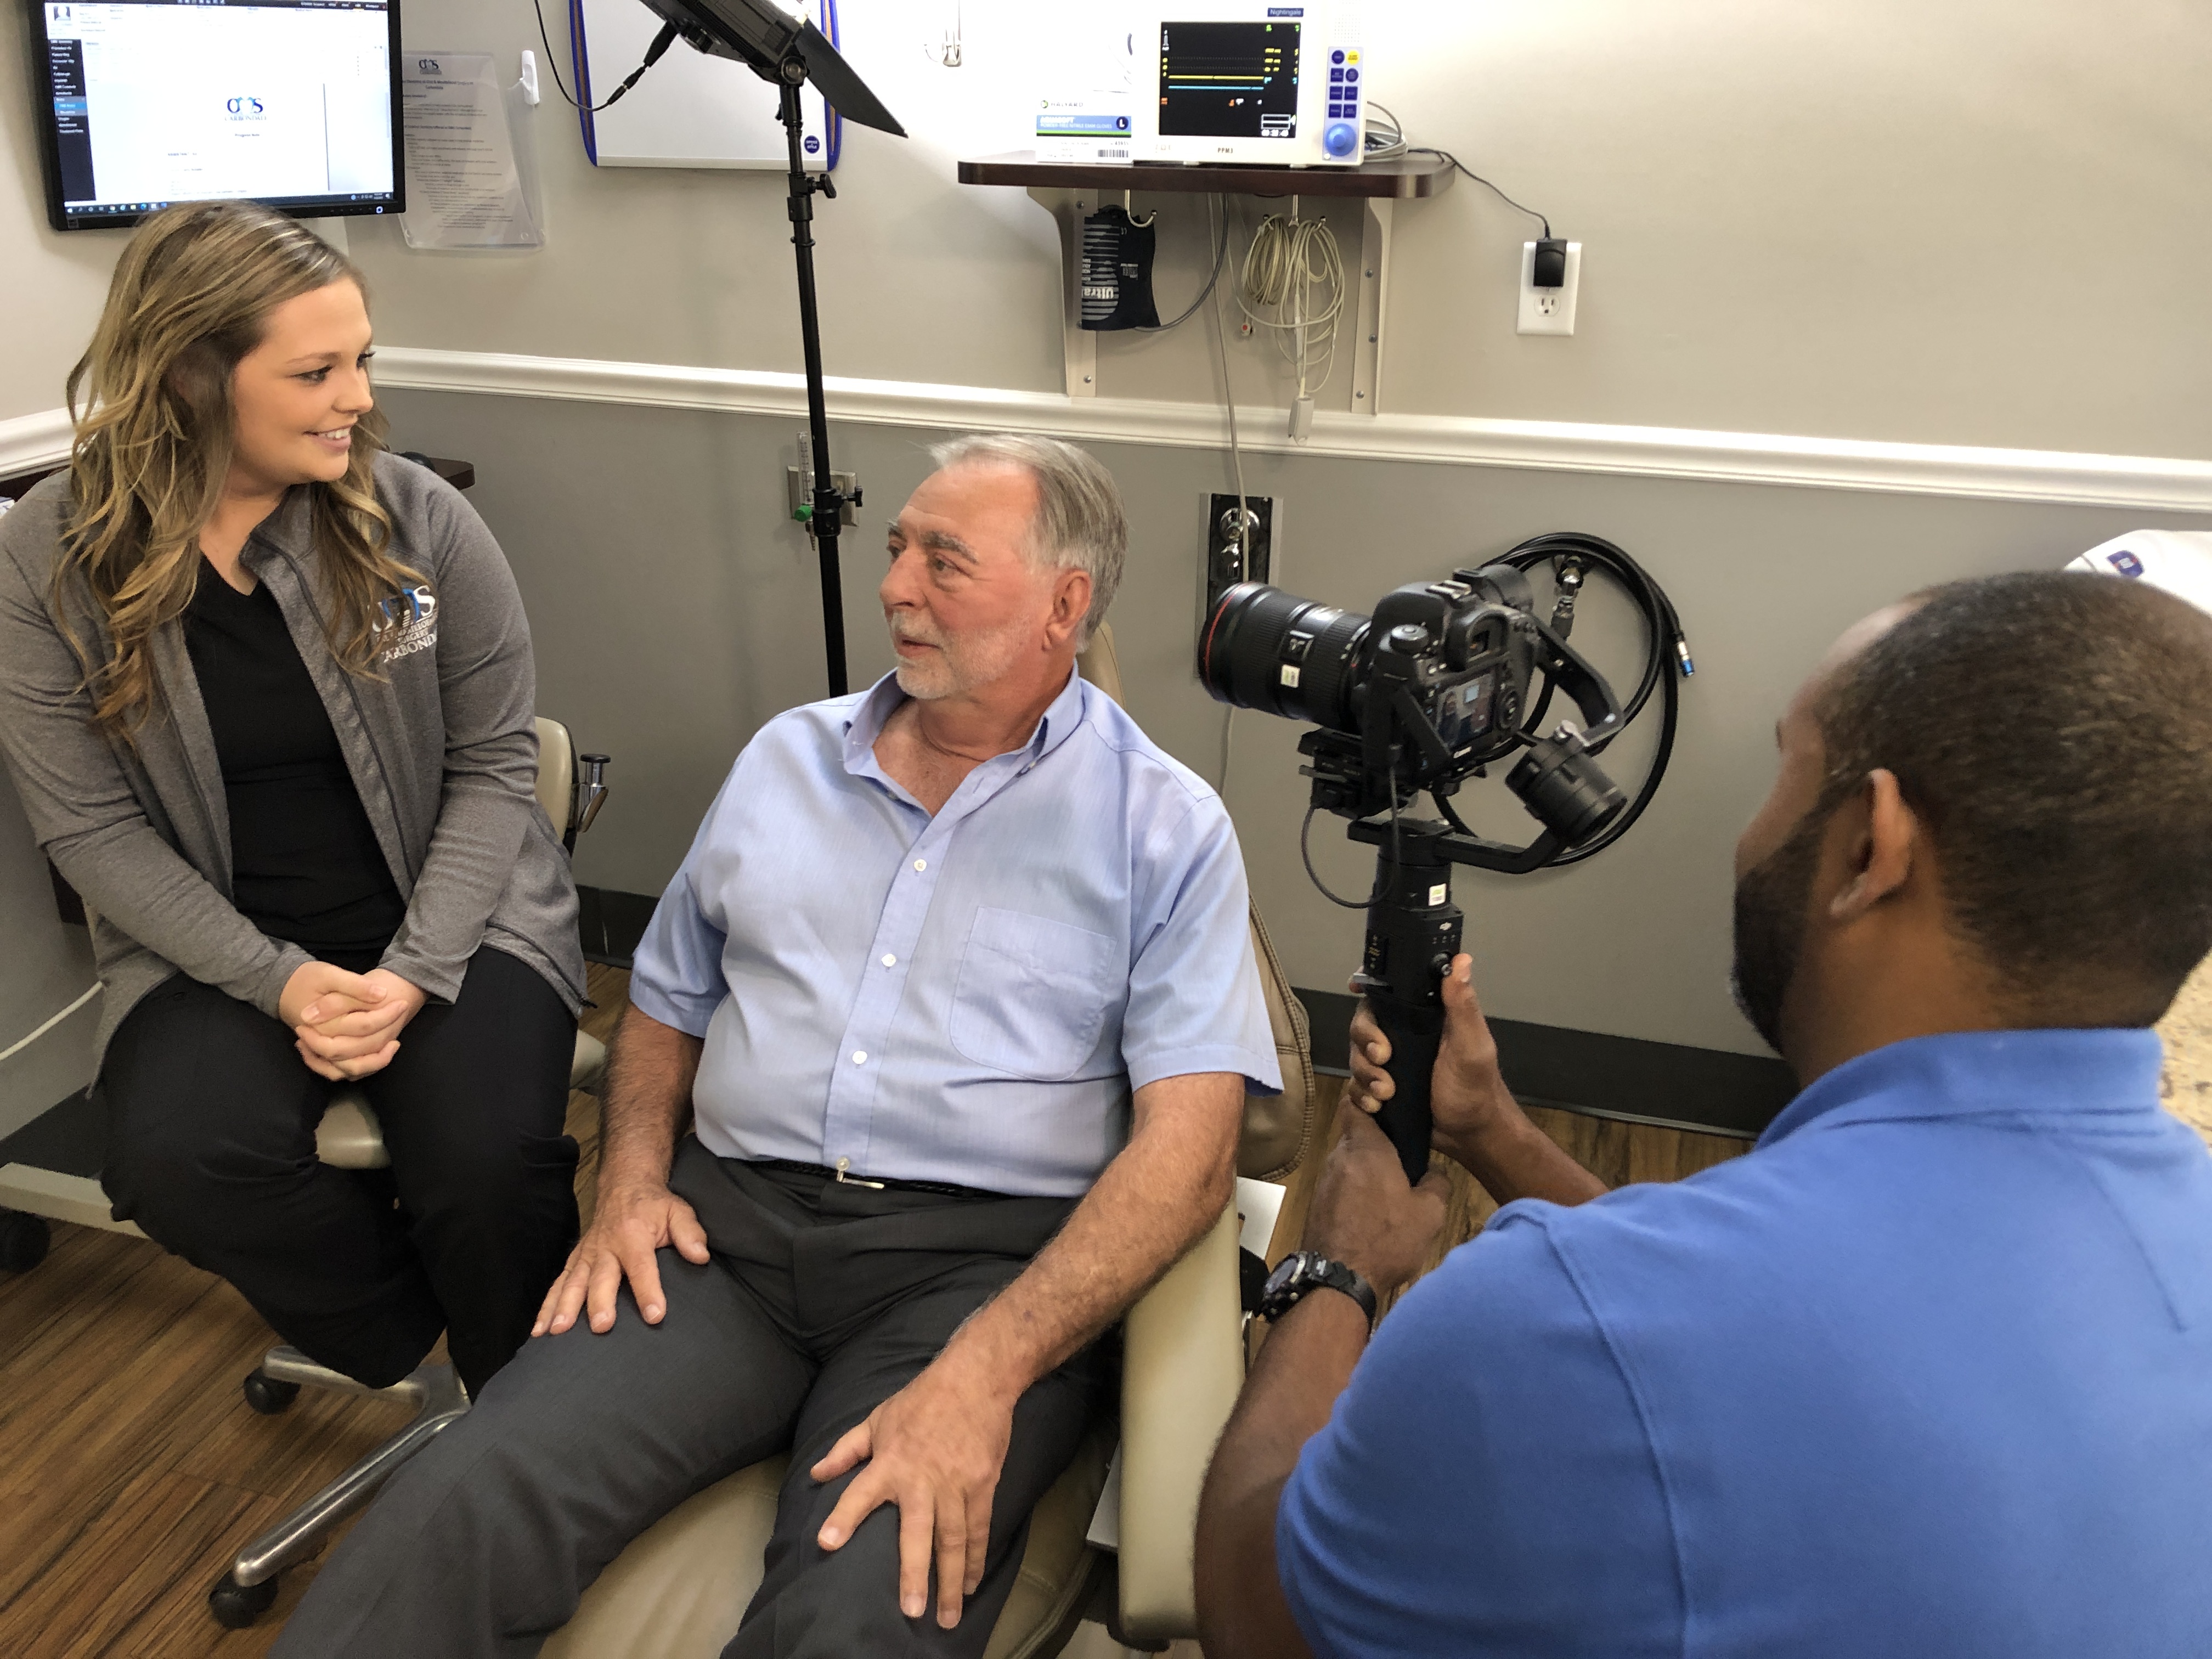
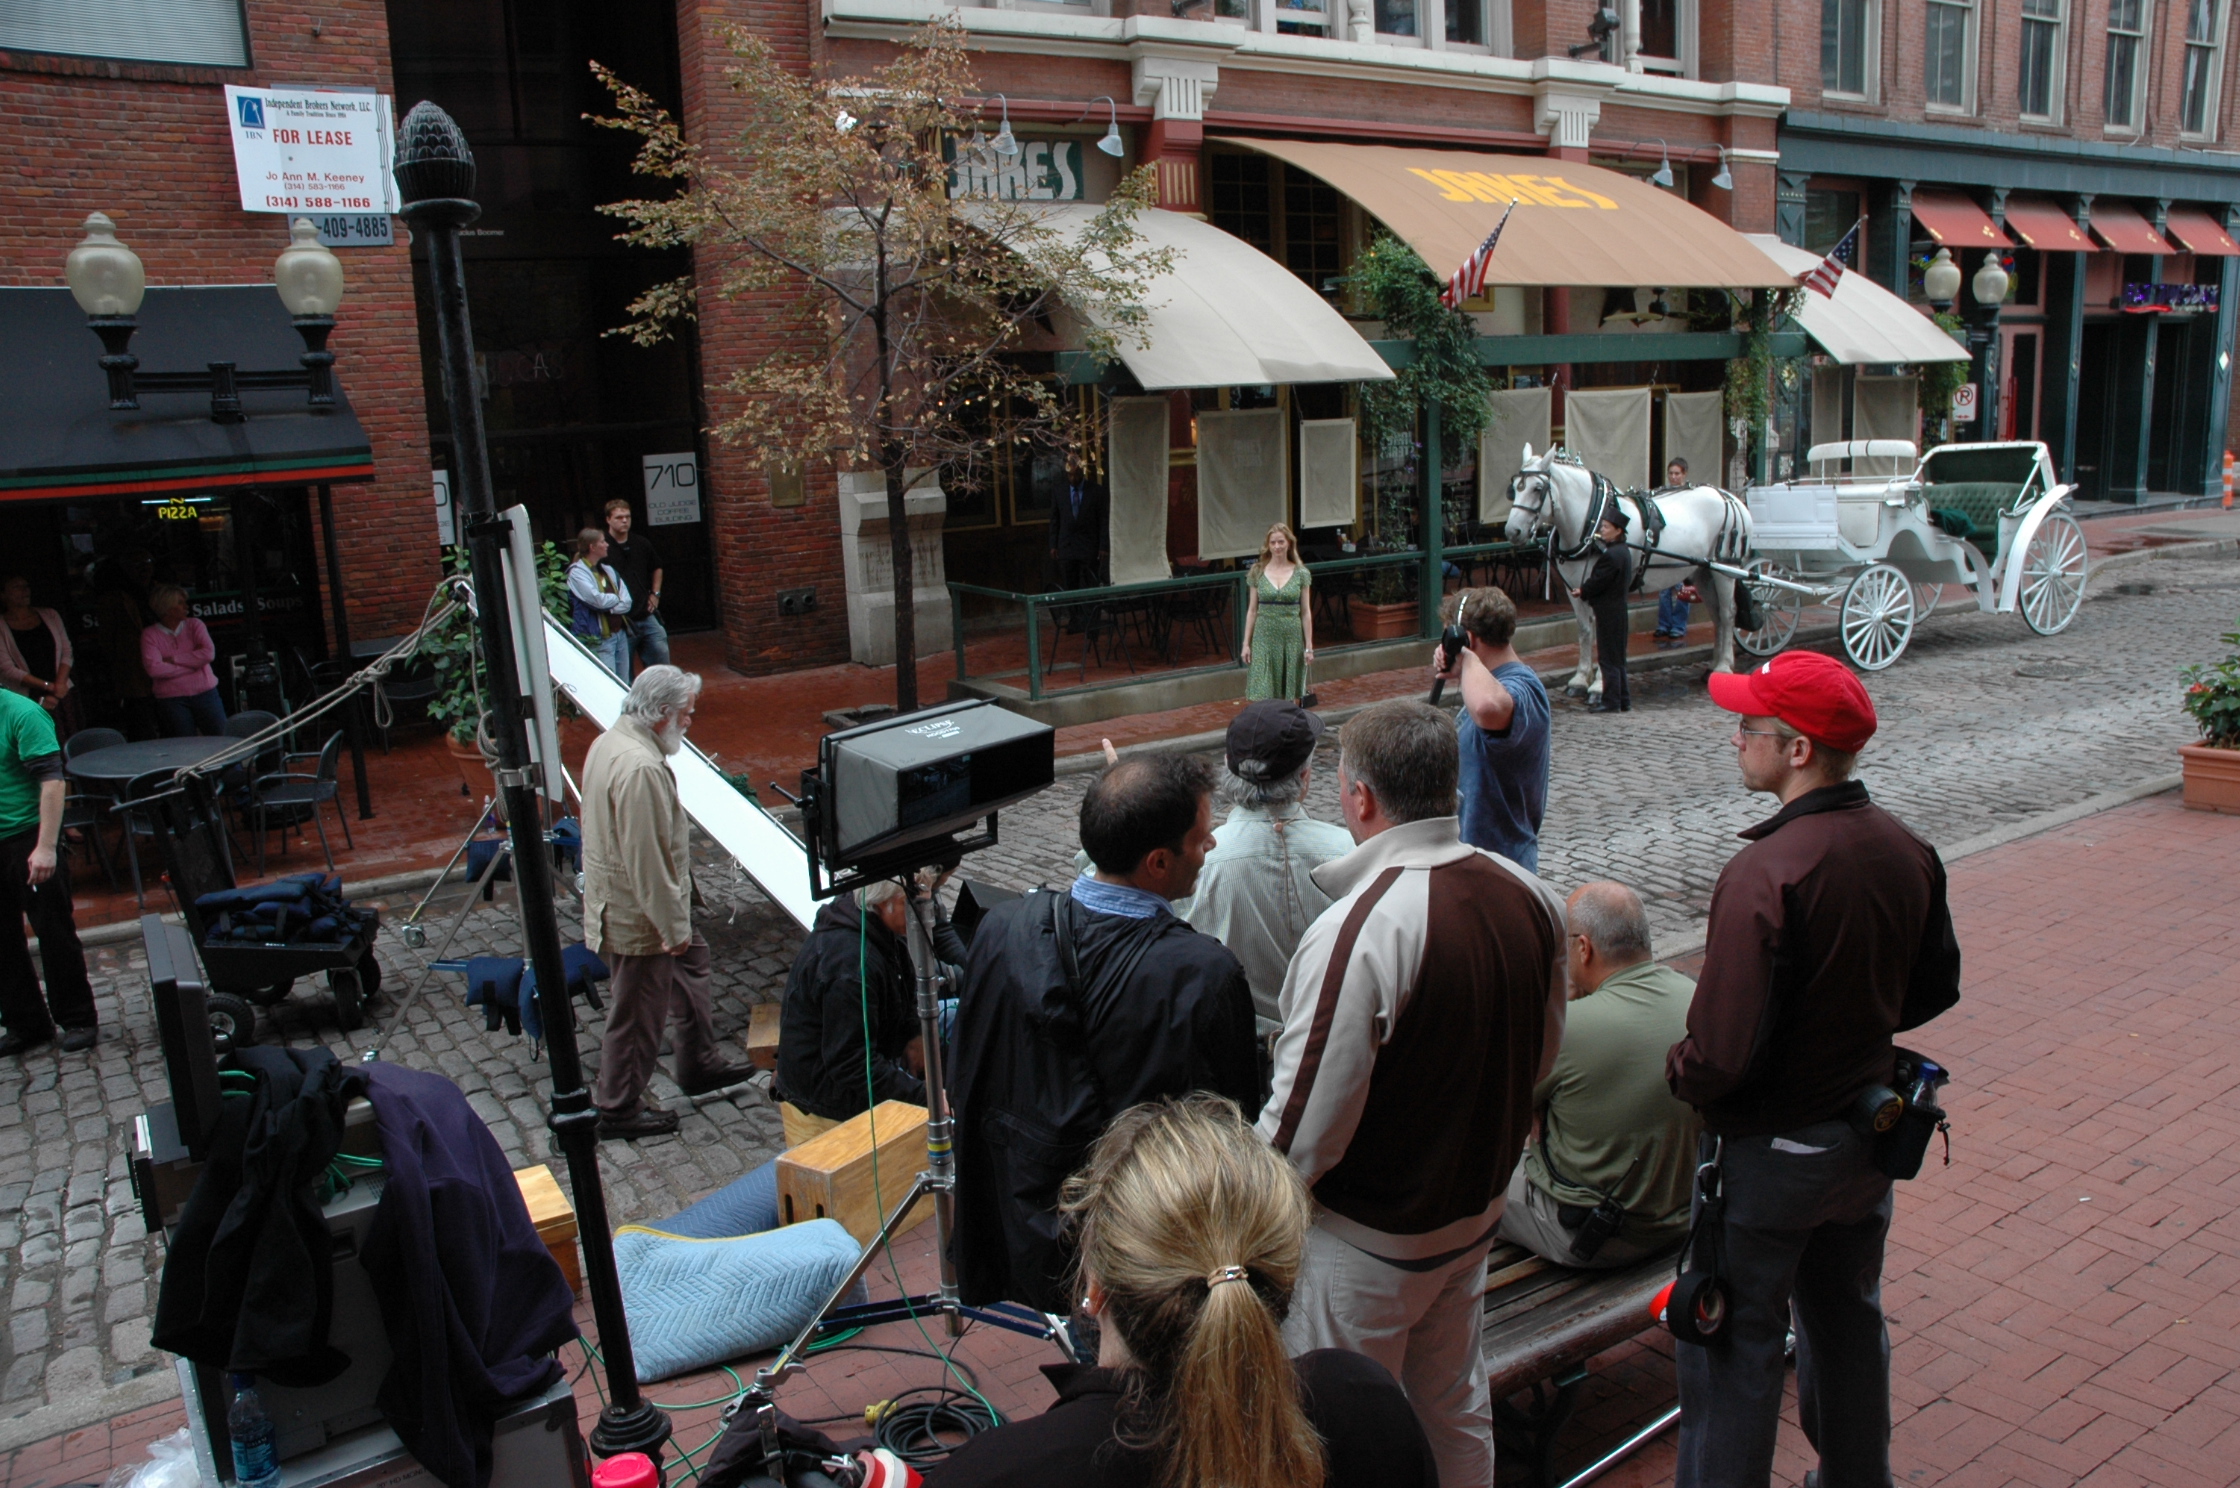
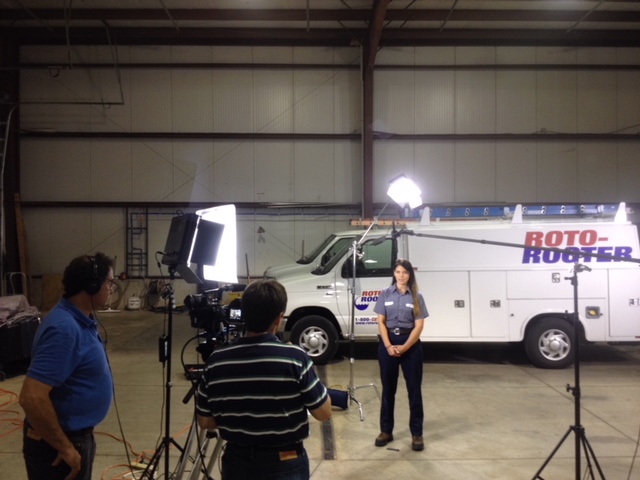
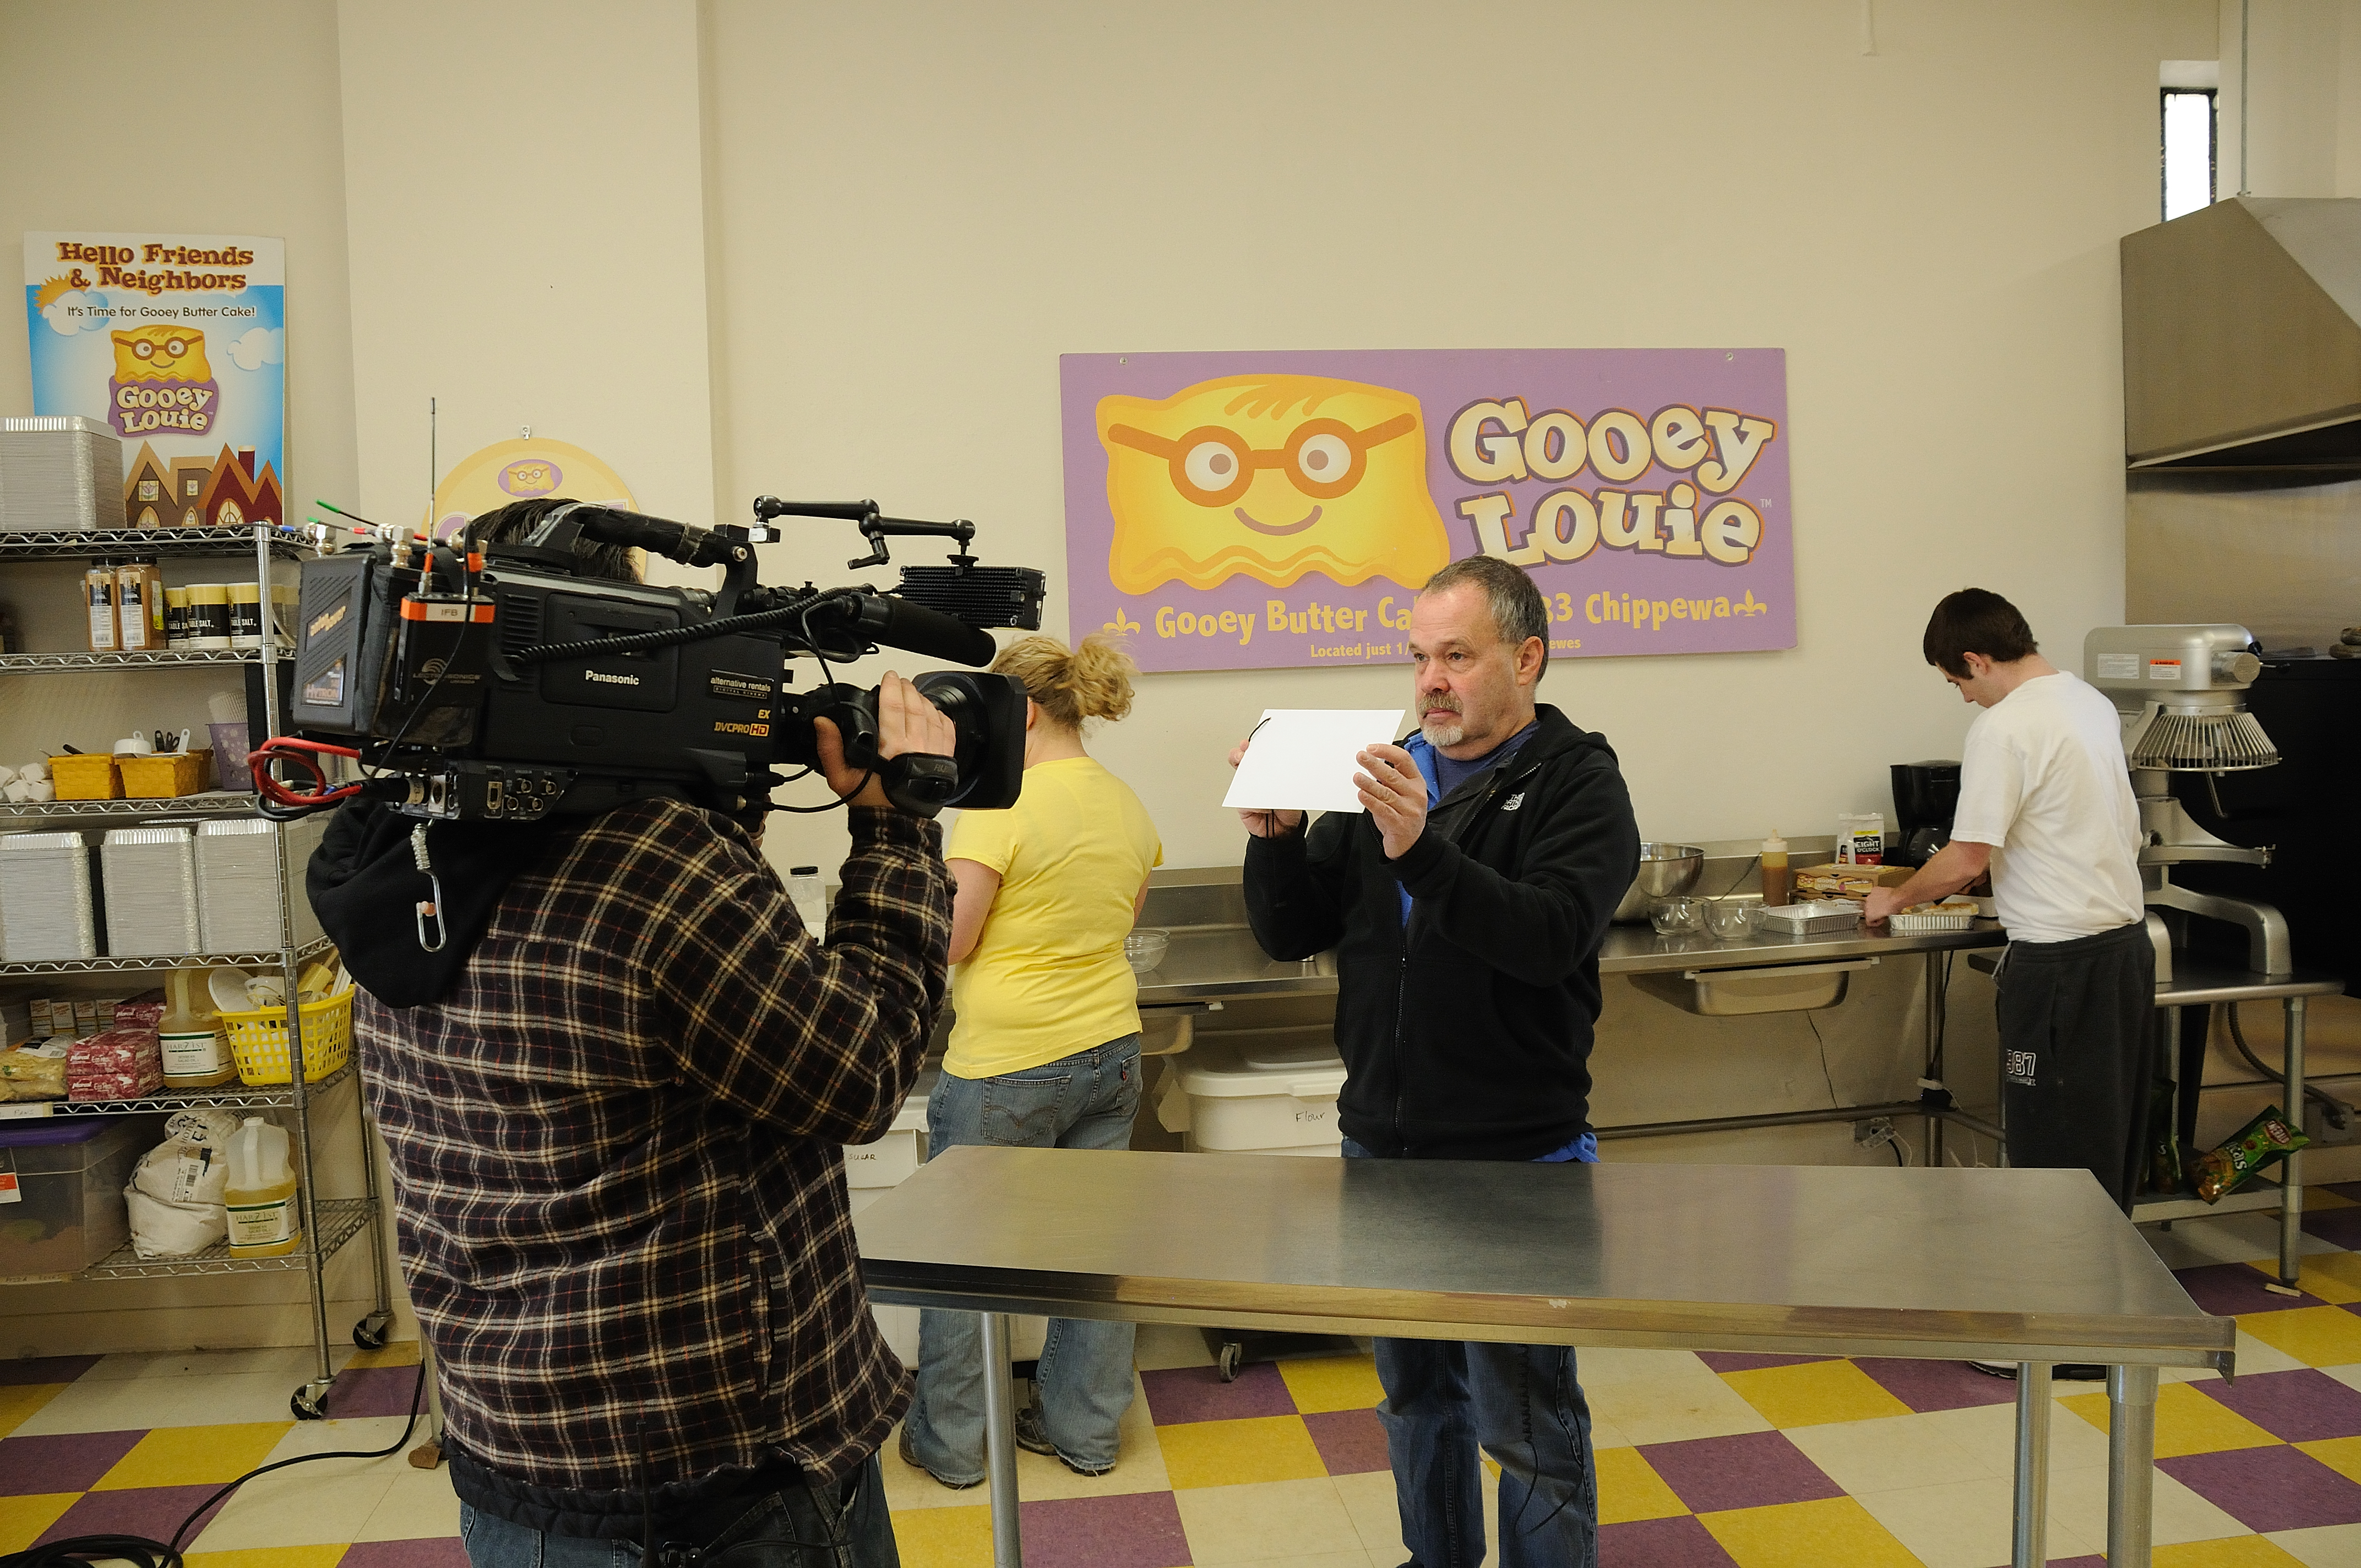
3. Production

With pre-production completed, it’s time to bring your video to life. The videographer will coordinate the shoot, ensuring that all planned elements are executed smoothly.

– Key Production Aspects:

  • Shooting: Capture the footage according to the script and shot list.
  • Lighting and Sound: Maintain high-quality visuals and audio.
  • Directorial Guidance: Videographers may provide direction to actors or presenters.

4. Post-Production

Post-production is where the magic happens. The videographer will edit the footage, add music, graphics, and any necessary effects to create a polished video.

– Post-Production Tasks:

  • Editing: Cut, trim, and arrange footage for the best storytelling.
  • Color Correction: Enhance visual appeal through color grading.
  • Sound Editing: Ensure clear and crisp audio.
  • Graphics and Effects: Add any necessary graphics or special effects.

5. Review and Feedback

Once the initial edit is ready, you’ll have the opportunity to review the video and provide feedback. This collaborative step ensures that the final product aligns with your vision.

– Key Considerations:

  • Timely Feedback: Promptly provide feedback to keep the project on track.
  • Iterative Process: Be prepared for multiple rounds of revisions to achieve the desired outcome.

6. Final Delivery

After incorporating your feedback and making any necessary revisions, the videographer will deliver the final video in the format of your choice. This video is now ready to be shared with your audience.

– Delivery Formats:

  • Web-ready formats: For online platforms.
  • Broadcast-quality formats: For television or larger screens.
  • Customized formats: Depending on your specific needs.

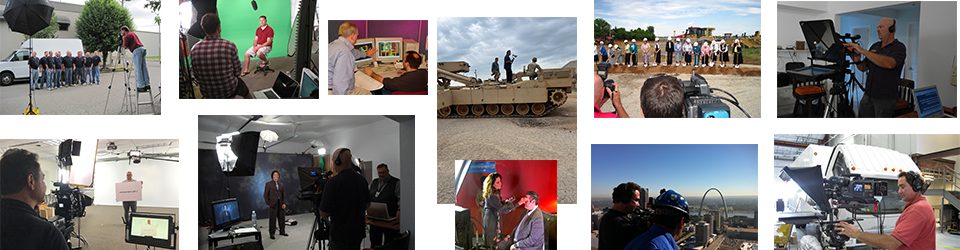
Why Choose St. Louis Commercial Video for Your Video Production Needs

At St. Louis Commercial Video, we take pride in our extensive experience and expertise as a full-service commercial video production studio. Our commitment to excellence and dedication to delivering outstanding results sets us apart in the industry. Here’s why you should choose us for your video production and crewing needs:

**1. Full-Service Studio and Location Production: Whether you prefer shooting in our well-equipped studio or on-location, we have the capabilities to handle all your production requirements.

**2. Customized Brand Identity: We understand the importance of maintaining a consistent brand identity across diverse media platforms. Our team can help you craft a personalized brand identity that resonates with your target audience while optimizing it for proper SEO.

**3. Versatility in Media: We are well-versed in handling various file types and styles of media. Whether you need a promotional video, training video, or any other type of content, we have the expertise to deliver.

**4. Broad Crew Experience: Our team comprises experienced professionals with a diverse skill set, from videographers and editors to sound engineers and scriptwriters. We have the talent and resources to cover any project you might have.

**5. Proven Results: As a full-service video creation company, St. Louis Commercial Video has a track record of working with numerous businesses in the St. Louis area to create impactful videos that get results.

Ready to embark on your video production journey with us? Contact us today to discuss your project, and let’s collaborate to bring your vision to life. Whether you need business videography on location or in our studio, we have the expertise and resources to meet your needs. Don’t miss the opportunity to harness the power of video for your business’s success.

As experienced professionals in the industry, we are confident in our ability to deliver high-quality videos that not only meet but exceed your expectations. Let’s work together to create videos that make a lasting impact and drive the results you desire. Contact St. Louis Commercial Video today and take the first step towards video production excellence.

stlouiscommercialvideo@gmail.com

 314-913-5626

Essential Tips for Incorporating B-Roll into Your Training Videos

In the ever-evolving landscape of corporate training and education, video content has become a cornerstone. It’s an effective medium for conveying information, engaging learners, and ensuring that complex concepts are understood. However, not all training videos are created equal. To truly capture your audience’s attention and maximize the educational impact of your content, you need to master the art of incorporating B-roll footage.

During the editing process, be ruthless with your B-roll selection. Trim excess footage that doesn’t contribute to the narrative or serves as filler.

As a seasoned videographer at St. Louis Commercial Video Production, I’ve had the privilege of working on countless training video projects. In this comprehensive guide, I’ll share my insights and expertise on how to seamlessly integrate B-roll into your training videos. By the end of this article, you’ll have a solid understanding of the importance of B-roll, practical tips for shooting and editing it, and how it can elevate your training content to the next level.

The Power of B-Roll in Training Videos

Before we dive into the nitty-gritty details of incorporating B-roll into your training videos, let’s first understand why it’s so crucial.

1. Visual Engagement

Human brains are wired to process visual information more efficiently than text or spoken words. B-roll provides a visual context that complements the primary content of your training video. It engages your audience by offering a change of scenery, breaking up the monotony of a single shot or talking head, and providing a deeper understanding of the subject matter.

2. Clarification and Demonstration

Some concepts are challenging to explain solely through narration or static visuals. B-roll allows you to demonstrate processes, procedures, and scenarios, making complex topics easier to grasp. It’s particularly valuable for technical or hands-on training where seeing the action is essential.

3. Aesthetic Appeal

Well-chosen B-roll footage not only enhances the educational value of your video but also adds an aesthetic quality to it. It can make your training video more visually appealing and enjoyable to watch, which can boost learner engagement and retention.

4. Storytelling

B-roll plays a crucial role in storytelling. It can help you create a narrative within your training video, making it more compelling and memorable. Whether you’re showcasing success stories or illustrating challenges, B-roll can help weave a narrative thread throughout your content.

Practical Tips for Shooting B-Roll

Now that you understand the significance of B-roll, let’s explore some practical tips for capturing high-quality B-roll footage.

1. Plan Ahead

Effective B-roll starts with careful planning. Before you even start shooting, create a shot list of the specific B-roll shots you’ll need to support your training content. This ensures that you capture all the necessary visuals and saves time during the editing process.

2. Match the Tone

Consistency in tone and style is crucial. Ensure that your B-roll footage aligns with the overall look and feel of your training video. Whether it’s a corporate setting, a laboratory, or a manufacturing plant, make sure the visuals are coherent and relevant.

3. Use the Right Equipment

At St. Louis Commercial Video Production, we understand the importance of having the right tools for the job. Invest in quality camera equipment, stabilizers, and lenses to capture smooth and visually appealing B-roll shots. Consider using drones for aerial footage or sliders for cinematic movements.

4. Pay Attention to Composition

Composition matters just as much in B-roll as it does in the main shots. Follow the rule of thirds, use leading lines, and think about framing and perspective. Well-composed B-roll shots can elevate the overall production quality.

5. Capture Plenty of Coverage

It’s better to have more B-roll footage than you need rather than falling short during editing. Shoot multiple takes from various angles to give your editor plenty of options. This flexibility is invaluable during the post-production phase.

6. Focus on Details

B-roll should capture the small details that help tell the story. Close-ups of hands working on a task, machinery in motion, or products being manufactured can add depth and authenticity to your training video.

7. Utilize Natural Lighting

Whenever possible, use natural light for your B-roll shots. It creates a more realistic and flattering look. If you must use artificial lighting, ensure it matches the lighting in your primary shots to maintain consistency.

8. Pay Attention to Sound

While B-roll is primarily about visuals, don’t neglect the importance of sound. Recording ambient sounds during your B-roll shoots can enhance the immersive experience and add authenticity to your training videos.

B-Roll Editing Techniques

Shooting quality B-roll is only half the battle. The other half lies in the editing room. Here are some essential techniques for seamlessly integrating B-roll into your training videos.

1. Establish a Hierarchy

Identify the key B-roll shots that will complement your primary content. Create a hierarchy that guides the viewer’s attention. Use establishing shots to set the scene and detail shots for specific actions or elements.

2. Maintain a Flow

Transition smoothly between your primary content and B-roll footage. Use cuts, fades, or other transitions to avoid jarring jumps between shots. The goal is to maintain a natural flow that keeps the viewer engaged.

3. Sync with Narration

Sync your B-roll footage with the narration or spoken content. The visuals should reinforce and complement what’s being said. This synchronization helps reinforce key points and ensures that your B-roll serves an educational purpose.

4. Keep it Relevant

Resist the temptation to use B-roll merely for visual flair. Each B-roll shot should have a clear purpose and relevance to the training content. Overusing or misusing B-roll can distract from the main message.

5. Trim Excess Footage

During the editing process, be ruthless with your B-roll selection. Trim excess footage that doesn’t contribute to the narrative or serves as filler. Conciseness is key to keeping your training video engaging.

6. Add Graphics and Text

Incorporate graphics, text overlays, or captions when necessary to provide additional context or information. This can be especially useful when explaining diagrams, charts, or data in your training videos.

The Role of Music and Sound Effects

While B-roll primarily focuses on visuals, the auditory elements also play a significant role in enhancing the training video experience. Here’s how to leverage music and sound effects effectively:

1. Choose the Right Music

Select background music that complements the tone and message of your training video. Ensure it doesn’t overpower the narration or distract from the visuals. The music should enhance the overall experience without being obtrusive.

2. Use Sound Effects Sparingly

Sound effects can add realism and engagement to your training video. However, use them sparingly and purposefully. Overusing sound effects can make your video feel gimmicky and detract from the educational content.

Final Thoughts

Incorporating B-roll into your training videos is a skill that can significantly elevate the quality and impact of your content. Whether you’re a corporate trainer, educator, or content creator, mastering the art of B-roll is essential in today’s visual-centric learning landscape.

At St. Louis Commercial Video Production, we understand the importance of creating compelling and effective training videos. With our extensive experience in both studio and location video production, we have the expertise and equipment to help you achieve your training video goals. Our full-service video company has worked with businesses of all sizes in the St. Louis area, delivering top-notch video and photography services for a wide range of projects.

If you’re ready to take your training videos to the next level, we invite you to partner with us. Contact St. Louis Commercial Video Production today, and let us help you enhance your internal and external communications through the power of B-roll and expert video production.

Call to Action: As a full-service video company, St. Louis Commercial Video Production has worked with businesses of all sizes in the St. Louis area. We are experts at simultaneously shooting video and photography for your next project. Contact us today to elevate your training videos and achieve your communication goals through the art of B-roll and expert video production.

stlouiscommercialvideo@gmail.com

 314-913-5626

Behind the Scenes: The Art of Crafting Compelling Testimonial Videos

In the world of marketing and advertising, testimonial videos have emerged as a powerful tool for businesses to communicate their brand value and build trust with their audience. These videos provide a platform for real customers to share their experiences, emotions, and insights, effectively conveying the benefits of a product or service. As an experienced video producer at St Louis Commercial Video Production, we understand the importance of creating impactful testimonial videos that resonate with viewers. In this article, we’ll take you behind the scenes to explore the art of crafting compelling testimonial videos.

Capture authentic stories and create impactful videos that drive results.

Understanding the Power of Testimonial Videos

Before delving into the intricacies of crafting testimonial videos, it’s crucial to understand why they are such a valuable asset for businesses. Testimonial videos offer a unique opportunity to humanize your brand and establish credibility. When potential customers see and hear real people sharing their positive experiences, they are more likely to trust your business and feel confident in their decision to engage with you.

These videos go beyond simple advertising; they provide an authentic narrative that connects emotionally with the audience. By showcasing real-life success stories, testimonial videos create a relatable experience that resonates deeply. They allow viewers to visualize themselves benefiting from your products or services, reinforcing the trust and credibility you’ve established.

The Process of Crafting Compelling Testimonial Videos

Crafting a compelling testimonial video involves a thoughtful and strategic approach. At St Louis Commercial Video Production, we follow a well-defined process to ensure that each video we produce is engaging, authentic, and aligned with our clients’ brand messaging. Let’s take a look at the key steps involved:

1. Identifying the Right Subjects

The first step in creating a powerful testimonial video is selecting the right subjects to feature. It’s essential to identify customers who have had a genuinely positive experience with your brand and are willing to share their story. Look for individuals who are articulate, passionate, and can effectively communicate the benefits they’ve gained. This careful selection ensures that your video showcases the best aspects of your business and resonates with your target audience.

2. Preparing for the Shoot

Once the subjects are identified, it’s crucial to properly prepare for the shoot. This involves conducting pre-interviews to understand their story, identify key talking points, and build rapport. We work closely with our clients to develop a list of questions that will elicit detailed responses, capturing the essence of the customer’s experience. Adequate preparation ensures a smooth and efficient shoot, maximizing the quality of the footage captured.

3. Filming the Testimonials

During the shoot, our team of experienced videographers creates a comfortable and supportive environment for the subjects. We use high-quality equipment and professional lighting to capture visually appealing footage. By employing various filming techniques, such as close-ups and dynamic angles, we aim to visually enhance the emotional impact of the testimonials.

4. Editing and Post-Production

The editing and post-production phase is where the testimonial video truly comes to life. Our skilled video editors carefully review the footage and select the most compelling segments. They seamlessly integrate additional visuals, such as product shots or behind-the-scenes footage, to enhance the overall storytelling. The editing process also includes adding background music, voice-overs, and motion graphics to create a polished final product that aligns with your brand identity.

5. Distribution and Promotion

Once the video is finalized, it’s time to distribute and promote it effectively. At St Louis Commercial Video Production, we understand the importance of reaching the right audience. We leverage various platforms, such as websites, social media channels, and email marketing campaigns, to maximize the video’s reach. By targeting the appropriate demographics and utilizing SEO strategies, we ensure that your testimonial videos are seen by the right people at the right time. We also track and analyze the performance of each video, providing valuable insights and data to optimize future marketing efforts.

The Benefits of Partnering with St Louis Commercial Video Production

At St Louis Commercial Video Production, we are a full-service commercial photography and video production company based in St. Louis. With our extensive experience and expertise, we are well-equipped to meet all your photography and video production requirements. Here are some key reasons why you should choose us for your testimonial video needs:

1. Expertise and Professionalism

As experienced photographers and video producers, we have the knowledge, skills, and technical know-how to create compelling testimonial videos. We understand the art of storytelling and how to capture the essence of your brand in a visually engaging manner. With our attention to detail and commitment to quality, we ensure that every aspect of the video production process is executed flawlessly.

2. Customized Approach

We believe in a tailored approach to video production. We take the time to understand your brand, target audience, and marketing objectives, allowing us to create testimonial videos that align perfectly with your vision. Our team collaborates closely with you throughout the process, from conceptualization to final delivery, ensuring that your requirements are met and exceeded.

3. High-Quality Production Value

At St Louis Commercial Video Production, we pride ourselves on delivering videos with exceptional production value. We use state-of-the-art equipment, professional lighting, and industry-standard techniques to capture footage that is visually stunning and emotionally resonant. Our skilled editors then bring the footage to life, incorporating captivating visuals and engaging storytelling elements.

4. Strategic Distribution and Promotion

Creating a compelling testimonial video is only part of the equation. We also understand the importance of effective distribution and promotion. Our team employs strategic marketing techniques to ensure that your videos reach the right audience through targeted channels. We optimize the videos for search engines, leverage social media platforms, and implement email marketing campaigns to maximize visibility and engagement.

5. Proven Track Record

Over the years, we have produced numerous testimonial videos for a wide range of clients across various industries. Our portfolio showcases our ability to capture authentic stories and create impactful videos that drive results. We have helped businesses enhance their brand reputation, increase customer trust, and generate leads through our video production services.

As experienced photographers and video producers, St Louis Commercial Video Production has produced many compelling storytelling testimonial video communications with our video production services. We are dedicated to helping businesses like yours effectively communicate their brand value and connect with their audience through the power of testimonial videos.

Contact us today to discuss your branding and business marketing communications needs. Together, we can create testimonial videos that leave a lasting impression on your target audience and drive the success of your business.

stlouiscommercialvideo@gmail.com

 314-913-5626

Recording Home Office Testimonials: A Step-by-Step Guide

In today’s digital age, testimonials have become a powerful tool for businesses to showcase their products or services. With the rise of remote work and home offices, it’s crucial for companies to gather testimonials that reflect the effectiveness of their offerings in a home office setting. In this comprehensive guide, we’ll walk you through the process of recording home office testimonials, step by step.

Focus on capturing genuine experiences, provide a professional recording environment, and promote the testimonials effectively.

Introduction

Testimonials provide social proof and help build trust with potential customers. They serve as a testament to the quality and value of a product or service, influencing the purchasing decisions of others. With the increasing number of professionals working from home, it’s essential to capture testimonials specifically tailored to the home office environment.

Step 1: Identify Your Target Audience

Before you start recording testimonials, it’s crucial to identify your target audience. Consider who your ideal customers are and what challenges they might face while working from a home office. Understanding their needs will help you craft questions and choose the right participants for your testimonials.

Step 2: Select Testimonial Participants

To ensure authenticity, select participants who genuinely use your product or service in their home offices. Look for individuals who can articulate their experiences clearly and passionately. Consider reaching out to loyal customers, employees, or industry influencers who have a significant following in the remote work community.

Step 3: Craft Testimonial Questions

Crafting well-thought-out questions is vital to eliciting valuable responses from your participants. Focus on asking open-ended questions that allow them to provide detailed feedback. Here are a few sample questions to consider:

  • How has our product/service improved your productivity in your home office?
  • Can you share a specific instance where our product/service helped you overcome a challenge while working remotely?
  • What features of our product/service do you find most beneficial for your home office setup?

Step 4: Set Up a Professional Recording Environment

Creating a professional recording environment ensures high-quality testimonials that reflect positively on your brand. Consider the following aspects:

Lighting:

Position participants in a well-lit area to avoid shadows or harsh lighting. Natural light is often ideal, but if necessary, use soft, diffused lighting to create a flattering and professional appearance.

Background:

Choose a clean and clutter-free background that doesn’t distract from the participant. A simple home office setup or a neutral-colored wall often works well.

Audio:

Invest in a good-quality microphone or headset to capture clear audio. Avoid background noise and ensure participants are in a quiet environment during recording.

Camera Setup:

Use a high-resolution camera, preferably a DSLR or a webcam with good image quality. Position the camera at eye level for a flattering and engaging perspective.

Step 5: Prepare Participants

Help participants feel comfortable and confident before recording their testimonials. Provide them with an overview of the process, the questions they will be asked, and any specific instructions. Encourage them to practice their responses beforehand to ensure clarity and coherence.

Step 6: Conduct the Recording

During the recording session, make participants feel at ease by creating a friendly and supportive environment. Remind them to speak clearly and to maintain eye contact with the camera. Encourage natural and genuine responses rather than scripted ones. If necessary, conduct multiple takes to ensure the best possible outcome.

Step 7: Edit and Enhance the Testimonials

After the recording session, carefully review the footage and select the best parts for editing. Trim any unnecessary content and enhance the audio and video quality, if needed. Add captions or subtitles to improve accessibility and engagement. Consider including overlay text to highlight key points or statistics mentioned in the testimonials.

Step 8: Obtain Consent and Release Forms

To protect both your business and the participants, ensure you obtain consent and release forms from each participant. These forms should clearly state that the participants are giving permission for their testimonials to be used by your company for marketing purposes. Include details such as the intended platforms, duration of use, and any compensation or incentives provided.

Step 9: Promote and Share Testimonials

Once the testimonials are edited and ready, it’s time to share them with your target audience. Here are a few effective ways to promote and share your home office testimonials:

  • Website: Feature the testimonials prominently on your website, particularly on pages related to home office solutions or remote work.
  • Social Media: Share the testimonials on your social media channels. Craft engaging captions that highlight the key points and encourage viewers to watch the full testimonials.
  • Email Campaigns: Incorporate testimonials into your email marketing campaigns to showcase the positive experiences of your customers in home office settings.
  • Video Platforms: Upload the testimonials to video-sharing platforms like YouTube or Vimeo. Optimize the titles, descriptions, and tags to make them discoverable by potential customers.
  • Collaboration: Partner with relevant influencers or industry leaders to share your testimonials with their audience. This can help expand your reach and credibility.

Step 10: Monitor and Measure Impact

To gauge the effectiveness of your home office testimonials, monitor their impact and collect feedback. Track metrics such as website traffic, engagement rates, and conversion rates to assess the testimonials’ influence on your target audience. Listen to customer feedback and make adjustments as necessary to continually improve the testimonial collection and sharing process.

Conclusion

Recording home office testimonials is an essential part of any marketing strategy in today’s remote work landscape. By following this step-by-step guide, you can ensure that your testimonials are authentic, compelling, and resonate with your target audience. Remember to focus on capturing genuine experiences, provide a professional recording environment, and promote the testimonials effectively. With well-crafted and strategically shared testimonials, you can showcase the value of your products or services in the home office setting and build trust with potential customers.

stlouiscommercialvideo@gmail.com  314-913-5626

Creating Compelling Video Content for Your St Louis Small Business

Understand Your Audience

Creating awesome video content for your small biz? Start by understanding your target audience. Who are they? What do they know? What matters to them? And what do they want to learn from you? Knowing this info will help you create videos that are appealing and engaging. Plus, you’ll build an emotional bond with the viewer.

Now, let’s look at the steps you need to take for your video content to reach its maximum potential.

St. Louis small business owners can use social media to promote their videos. This will get them more views and encourage viewers to visit their websites or subscribe for more content.

Research your target audience

For successful video content for your small biz advertising in St. Louis, understand what appeals to your target audience. Before creating, research who they are and how to show them the special qualities that make your business stand out.

Research includes:

  • Identifying the target audience’s demographics.
  • Studying their needs and how you can provide solutions with your product/service.
  • Looking at their buying behavior.
  • Checking their subtle tastes and preferences.
  • Discovering the main channels they use for media and entertainment.

Knowing and understanding these answers before creating video content will ensure advertisers create material that appeals to their target market – leading to successful promotion of small biz in St. Louis!

Identify their interests, needs, and wants

To make great video content, be intentional when selecting your audience and topics. Every audience has their own interests, needs and wants. Knowing these will help ensure the content you create is useful.

Create an ideal customer profile to know what your target audience desires from a video. Think about their age range, profession, hobbies, geographic location, needs and wants. With this info, you can make your videos more impactful.

Also, get insights into why your customers are watching St Louis business videos. Are they looking for advice, entertainment or product instructions? Knowing this helps you include all points-of-view when creating your video content.

Take the time to research and understand your customers. This will ensure your video angles and delivery style speak to their interests, needs and wants. Then, you’ll be able to make compelling videos that get results!

Develop Your Video Content Strategy

For your small business in St. Louis, creating intriguing video content is a great way to promote it and draw in new customers. To make sure your content resonates with your desired audience, you should have a complete video content plan.

This includes aims, objectives, target viewer ‘personas’ and the kind of content you’ll create. Let’s examine the elements of a successful video content plan more deeply.

Brainstorm topics that will engage your target audience

Brainstorming is a great way to start a successful video content strategy. Consider the goal of the video, what experiences can be shared, and who the target audience is. Research current trends to make sure your video is relevant. Look at social media platforms like Instagram, TikTok, YouTube, Twitter, and Facebook for insights into popular topics in your industry. See which types of videos are most engaging for users. Twitter polls and YouTube’s trending list can show you what videos are successful.

Content has a short shelf life, so it’s important to have good ideas based on audience interests to create memorable content that is shared organically.

Set goals for your video content

Planning and intentionality are key to creating compelling video content. Think about what you want to achieve. Set clear and achievable goals that align with your company’s core objectives. For instance, if your goal is to raise brand awareness, show customers why your product or service is better than others.

Define a longer-term aim for all your video content. This goal will make sure all videos fit with your message. Ask yourself:

  • Who is my target audience?
  • How can I get my message across?
  • What aspects of our business should be highlighted?
  • What content is likely to engage viewers?

By developing a strategy before making any promotional videos, small business owners in St Louis can get the best results.

Create Your Video Content

Video content is essential for St. Louis small businesses who want to thrive. It can be used to promote products, services and events. Plus, engage with potential customers and clients.

Here’s how to make awesome video content that stands out!

Choose the right video format

For compelling video content in St. Louis, there are many options. Traditional short-form videos draw viewers. There are also tools for businesses to create videos on any budget.

Explainer Videos: These short-form videos present complex topics with visuals, graphics, audio, and text. They grab attention and offer entertainment value.

Live Action Videos: Live action videos show people interacting. Short-form videos can be recorded with a hand-held device. But, usually planning with storyboards, scripts, and production design is needed. Plus, actors and team members may be needed.

Animations: Animations convey messages with interesting storytelling and visuals. Different types exist like 3D animation, motion graphics, stop motion video, or gifs created with Photoshop or iMovie.

Interactive Content: Interactive content allows viewers to explore topics of interest. It increases engagement time compared with traditional media formats. This includes polls & quizzes, interactive infographics & maps – all at different prices!

Write a script for your video

Creating unique video content starts with a planned script. Writing a script for your video helps you stay on-message, and makes it easier to direct the flow of info. Without a script, it may be hard to keep viewers engaged throughout.

Keep your target audience in mind when making the script. Work out what kind of info they’ll find useful and create an outline that’s easy to follow. Add visuals or special effects too, that will make your video stand out and be memorable.

When writing the dialogue, use language that’s natural but professional. Speak as if you’re talking to someone, not reading from a page – this will help you seem genuine. Make sure there are no typos or awkward pauses, which can ruin the quality.

Before you start filming, read through the script a few times for typos or revisions. With a good plan, you’ll be ready to create an effective video for your St. Louis small business!

Record your video

Recording your video is a great start to making amazing video content for your St. Louis small business! Pick the setting, scene, and subject for your shoot. Be sure that you are prepared for recording with these tips:

  • Pick a great camera and microphone. Quality equipment is important for good video content. Buy quality digital camera and microphone, depending on your budget.
  • Lighting should be great – have enough light to make the picture clear and vibrant.
  • Check your background – Be aware of the background and make sure it won’t take away from your message. Objects can make distractions, so hide them.
  • Look at special effects – Use transitions, titles, music, and other effects to convey more meaning in your video content.

By following these steps, you can make quality content even with a small budget! Recording your video is only one of the steps to creating great video content for your St. Louis small business. Look out for our posts on editing software and hosting tips too!

Promote Your Video Content

Creating video content for your small business in St. Louis is a must. It can draw people to your website and convert customers. Plus, your brand awareness will grow.

How do you promote the video content? Here are some of the best ways.

Create a video marketing plan

Creating a successful video marketing plan is great for small businesses. It helps reach new customers, create extra revenue, and build a positive image. Here are the steps to consider:

1. Define Goals: Before creating videos, figure out what you want to accomplish. Drive people to your website? Promote a product? Create brand presence?

2. Decide Your Audience: Think about who you want to watch the video. Consider their demographics, location, and interests.

3. Choose Content and Style: Pick a relevant and engaging topic. Use high-quality visuals and sound. Maybe use animation techniques.

4. Promote Your Video: Use organic posts and paid advertising campaigns. Try influencer/ambassador strategies.

Video content can bring real success. It can increase visibility, educate customers, generate revenue, and build loyalty. Establish yourself as a thought leader in St Louis!

Leverage social media platforms

Social media platforms are great for promoting videos. Through them, you can reach more people, get potential customers, and increase your brand’s visibility. You can also use them to get leads and drive website traffic.

When using social media, be creative. Create hashtags related to the video or design visuals that go along with the video’s story. Analyze the engagement of each platform and adjust your strategy as needed.

St. Louis small business owners can use social media to promote their videos. This will get them more views and encourage viewers to visit their websites or subscribe for more content.

Optimize your video content for SEO

Video content is key in SEO. To optimize videos for your small biz, focus on text elements. Use keywords and phrases in titles, descriptions and tags. This helps search engines find and rank your content higher. Increase reach by sharing across social media.

Try keyword-stacking for short, mid, and long-form phrases. Eg: “St. Louis Best Bites: Where to Find the Best Restaurants”. Utilizing proper keywords connects with potential customers searching for their interests.

Link each video to a specific page on your website or blog. Give each one a unique title and description but link back to the same page. Also use high quality imagery to keep viewers watching longer. This earns recognition beyond textual aspects.

Explainer videos are a fantastic way to educate audiences. Their short, concise nature makes them great for conveying the essential details of a business, product, service, or idea. In a short amount of time, they can facilitate a quick understanding of the topic.

Are you looking for an engaging way to capture the attention of your audience? An explainer video is the best tool to educate and inform them quickly, concisely and effectively. You can communicate the broad strokes of your business, product, service or concept in a simple yet effective way that resonates with your viewers.

An explainer video is THE ultimate tool for audience education It communicates the broad strokes of a business product service or concept in a quick snappy way concisely communicating the important key points and creating instant understanding.

Introduction: What is an Explainer Video?

An explainer video is a short, compelling, and illustrative motion graphic video which helps to explain a business, product, service or concept in an engaging way. Explainer videos can be used to introduce customers to your brand story and its goals and to highlight the features of a product or service. Explainer videos have become essential visual aids for businesses as they create a memorable visual representation that communicates the key elements of a company’s message.

Explainer videos work by quickly summarizing complex concepts by leaving out unnecessary details. The end goal is to provide viewers with enough information so that they are excited about your product or brand while also understanding how it works and providing them with enough information so that they know what you offer compared with other competitors.

Companies use explainer videos as an effective tool for interactive marketing because it:

  • Increases engagement rate from potential customers
  • Encourages them to take action
  • Makes it easier for them to comprehend your product offering

Benefits of Using an Explainer Video

An explainer video makes it simpler for viewers to grasp messages, including complex ideas in a short amount of time. It also enables prospects to gain an understanding into the business, product or service and hang onto that knowledge, quickly driving engagement and interest.

Explainer videos create instant understanding. This can lead to increased conversions from your website and other marketing platforms. As explainer videos provide an immediate understanding of the services on offer, it encourages viewers to consider making a purchase there and then or remember the company for potential future purchases.

In addition to motivating prospective customers, explainer videos save time during onboarding processes by simplifying any complex topics – helping to decrease customer queries during training and support channels. They can be re-used over time, saving costs every time they need updating content-wise as they require minimal changes; meaning any ambiguities are addressed without needing large costs incurred through full video production processes again and again.

How an Explainer Video Can Help Your Business

Explainer videos are short, succinct videos, typically between two and three minutes long, that outline a product’s key features, explain how it works and the benefits it offers users. They are designed to inform and assist prospective customers in their journey toward making a purchase decision.

Explainer videos are fast becoming the go-to tactics for many businesses today. Not only do they quickly catch attention and drive engagement with viewers, they provide an interactive platform to teach customers about your offerings while delivering lasting impression and excellent Return on Investment (ROI). Explainer videos are an incredibly powerful way to get your key messages across quickly and effectively.

Explainer videos have been proven to significantly impact buying decisions – helping potential buyers form a more comprehensive view about what your business is offering. Customers viewing explainer videos are more likely to develop brand loyalty, understanding and trust than audiences who haven’t seen one.

Created by professional video production studios capable of developing creative scripts and visuals tailored towards your target audience that focus on the benefits of your product or service and not just unique features. An explainer video can take the complicated message you want to communicate and make it easy to understand through visual cues which makes them perfect for all types of audiences especially digital native generations like Generation Z or Millennials who prefer visually captivating content over long-form text-based information as they do not have enough time or patience to read through long tutorials or FAQs sections of websites.

Explainer Videos can also be used in webinars, seminars as well as being utilized in sales pitches that help close leads quickly while ensuring they get access to necessary information without taxing their time resources too heavily giving you higher ROI from investments made in such marketing campaigns with minimal cost margins associated with outsourced production costs etc.

If you want more eyes on your business thus generating maximum engagement along with higher sales conversion rate Explainer Videos should be an integral part of your marketing campaign strategies moving forward!

How to Create an Effective Explainer Video

Creating an explainer video that is effective for audience engagement and education can feel like a daunting task, but with the right elements in place, it can be done in a relatively short amount of time. Here are a few steps to help you get started:

  1. Start by deciding on the target audience and what they hope to gain from your explainer video. You will want to use language that is both easy to engage with, and speaks directly to the target demographic. A successful explainer video will use visual techniques such as storytelling and animation to keep the viewer entertained while conveying information clearly and concisely.
  2. Identify what makes your product or service stand out from others – this key element should be made clear in the explainer video so that viewers can quickly understand what they’re being offered by you. Consider which visuals would best represent how your product or service works and then create storyboards outlining the key features that you wish to demonstrate. Remember – viewers only have limited attention spans, so keep it short (aim for 1-3 minutes max).
  3. Once your storyboard is complete, it’s time for production! Choose engaging music and sound effects, ensure each element ties into your desired message, shoot footage where necessary (only if absolutely necessary), animate graphics in keeping with your overall style – these are just some of the choices you will need to make during production editing. If needed, source a voice over artist who has experience narrating corporate style videos; good narration will ensure that viewers follow along with ease.
  4. Finally – review colors, fonts and styling options used across all aspects of production; consistent design choices between all elements used in an explainer video will give viewers automatic assurance they are viewing something professionally produced without confusion or interruption of their viewing experience throughout its entirety.
Explainer video production with producer, talent and camera operator.

Different Types of Explainer Videos

Explainer videos come in different shapes and sizes, with the ultimate goal to simplify a concept and educate an audience. The types of explainer videos can be broadly divided into four main categories:

  1. Animated Explainer Videos: These videos will use predetermined characters and visuals, designed with tools like Adobe After Effects or Adobe Premiere Pro to make an audience understand how a product or service works. This format is often used when a business wants to create a fun, engaging video that appeals to many age groups and backgrounds.
  2. Live Action Explainer Videos: This type of video uses footage from real people instead of animations. It can showcase customer testimonials or provide “innovative demonstrations” for explaining complex concepts in simple terms. Live Action explainer videos have the power to almost directly appeal to the audience emotionally and create deeper connections than animation could ever do in a short time frame.
  3. Educational Explainer Videos: These are specially crafted for younger audiences who require special attention when it comes to learning and comprehension. This type of explainer video is usually presented using easy words, clear visuals, focused objectives, and often mnemonic devices in order to help the core message stick better with the kids. Viewers most efficiently process information during play rather than lengthy lectures or instructions accompanied by subtitles as they often fail miserably attempting this task as they mostly aim at lecturing rather than playing around topics making them bored eventually with messages hardly sticking even while adult audiences might comprehend messages quickly without feeling desperate.
  4. Interactive Explainer Videos: Through interactive videos, businesses can turn passive viewership into active engagement-driven activities that constantly excite the user throughout their journey on your website/app leading up video page, thus providing for longer watch period combined with enhanced learning capability due its interactive nature enabling users practice activities related solving problems showcasing all features of products helping potential customers get hands on experience even before purchase/usage driving personalization & giving customers overall enriching ride!

Tips for Creating an Engaging Explainer Video

In a world of digital marketing where attention spans are dwindling, it’s more important than ever to create explainer videos that engage viewers and keep them interested. Here are some tips to help you create an engaging explainer video:

  1. Make It Creative: Make sure your explainer video stands out from the crowd by taking a creative approach. Think outside the box, use vibrant visuals, employ storytelling techniques and add humor whenever relevant – these will all help make your video feel unique.
  2. Focus on Your Audience: When creating an explainer video, make sure to keep your target audience in mind throughout the process. Take the time to research their pain points and consider any potential roadblocks they may face so you can include relevant information that resonates with them in the video.
  3. Add Music: One of the best ways to ensure your viewers remain engaged is by including music in your explainer video. It helps set the tone for the entire production and can be used as a tool to further emphasize key points or evoke emotions from viewers.
  4. Keep It Short: Nothing will dampen an audience’s enthusiasm faster than an overly long explanation – so keep explanations short and sweet (ideally under 90 seconds) when creating your explainer videos! Short videos not only appeal more to viewers but also help increase conversions because people are likely to watch until completion before taking action.

Explainer Video Examples

Explainer videos come in all shapes and sizes, from whiteboard animation to motion graphics and beyond. When creating an explainer video for your business or organization, the options are seemingly boundless. To get an idea of the type of video that might work best for you, let’s explore some example explainer videos to help inform your choice:

  • Whiteboard Animation: This type of explainer video typically relies on drawings instead of live footage or animation to tell its story. It uses text along with hand-drawn images or animated “stick figures” to walk viewers through a concept, product or service. Through its playful nature, whiteboard animations can be great at engaging an audience while still providing a depth of understanding with simple visuals.
  • Motion Graphics & 2D Animation: Such videos might involve movement in objects or text, 3D figures that appear as cutouts on screen, high-quality imagery and clean typography that highlights key features and messages. This type of video is great for showcasing complicated concepts in a concise manner, as well as for driving home certain aspects for which more involved imagery would create too much clutter.
  • Live Action Explainer Video: Live action videos typically combine actors on set with more illustrative elements like icons and logos that help display the concept being discussed. This is a great option when your product has tangible components or you want the demonstrative nature of actors to highlight features and benefits more strongly than graphics alone could do.
  • 3D Animation Explainer Video: 3D animation combines 3D models with motion paths and special effects to create stunning visuals that grab viewers’ attention right away. They’re especially effective at demonstrating complicated processes like manufacturing or software development in ways otherwise hard to replicate using other techniques while maintaining a high level of profundity without overcomplicating matters thanks to scenes featuring only user interface elements (or virtually any other aspect imaginable).

A well-made explainer video is arguably one of the most powerful tools for instant audience education.

It allows you to quickly explain your business offering, product, service or concept in a way that easily reaches both current and potential customers.

The content within an explainer video should clearly communicate your brand’s key points, leaving your audience with an understanding of who you are, what you offer and why they should choose you.

To ensure maximum success with an audience, use data to create an effective video script specifically tailored to your audience. Your explainer video will then provide the perfect platform to power conversion, build trust and accurately display the value of your offering with clarity and urgency. With its ability to engage viewers emotionally as well as intellectually, it is no wonder that many marketers consider an explainer video THE ultimate tool for audience education today.

Mike Haller
314-913-5626 stlouiscommercialvideo@gmail.com

How to Create a Day in the Life Video for Your Product or Service: Tips and Strategies for Engaging Content.

Tips for creating an engaging day in the life video

– Start with the end in mind – Create an outline or storyboard of your day in the life video before you start filming. Having a plan will help you stay on track and avoid getting off track. It’s easy to get wrapped up in the filming process and forget why you’re capturing the footage in the first place. Having an outline will help you stay focused on your goal. – Make sure you have permission to film – Be sure to get permission to film in any location you plan to shoot in. It’s not only disrespectful but illegal to film in private places without permission. Be sure to check your local laws as well before filming. You don’t want to be in a sticky situation with authorities. – Cast a real person in your video – You don’t have to cast a professional actor, but you do want to cast a real person in your video. If you cast a professional actor, people will be less likely to relate to your video and the message you are trying to convey. If you cast a real person, customers will be able to relate to the person in your video, and the message you are trying to convey. – Create visual and concise content – Don’t make your video too long, but don’t make it too short either. If your video is too long, people will get bored and stop watching. If your video is too short, people won’t have enough information and may not be inspired to take action. Shoot for a video that is between 3 and 5 minutes long.

Storyboarding and scripting your day in the life video

Before you start filming, it’s important to sketch out your storyboard. A storyboard is a visual representation of your video, and it will help you create an effective video. It will also help you stay on track while shooting your video. You can create a storyboard using a tool like Google Drawing or with paper and pencil. It’s important to sketch out your storyboard before you start filming because it will help you stay focused and on track. Once you have your storyboard, it’s time to start scripting your video. It’s important to script your video because it will help you convey the message you are trying to get across to your audience more effectively. It will help you avoid rambling and stringing words together without any direction or focus. It will also help you avoid getting off track during the shoot.

Selecting the right equipment

– Camera – Any camera will do, but it’s important to use a camera that is easy to use. You want to avoid unnecessary distractions while you’re filming your day in the life video. Be sure to pick a camera that is easy to use and will allow you to film in different environments. If you plan to film outside, you will want a camera that can handle different weather conditions. – Sound equipment – The sound quality of your day in the life video will have a big impact on the overall quality of your video. If your sound quality is poor, your video may not be engaging or effective. It’s important to pick the right equipment to ensure the sound quality of your video is high-quality. You don’t need a lot of expensive equipment to ensure your sound quality is good. – Lighting equipment – Poor lighting can ruin the quality of your day in the life video. You don’t have to have fancy lights, but you do want to make sure you have enough light to film in. You don’t want your video to be too dark because it will be hard to see what’s going on in the video. It’s important to pick the right equipment to ensure your day in the life video is well-lit.

Choosing the right locations

– Pick a location that represents your brand – Before you pick a location, you want to make sure it represents your brand. You want to pick a location that represents your brand, and will help your brand come to life. – Pick a location that will make your video engaging – You don’t have to shoot in a fancy location. You just need to shoot in a location that will make your video engaging. Pick an interesting location that will make your day in the life video more engaging for your audience. – Pick a location that is easy to access – You don’t want to pick a location that is hard to access. You want to make your job as easy as possible. It’s important to pick a location that is easy to access.

Building relationships with your audience

When you create a day in the life video, you are showcasing the people who are using your product or service. It’s an intimate glimpse into the lives of your customers, and it shows them as real people with real stories to tell. The video gives your audience a chance to connect with your brand on a more personal level. You can use your day in the life video to ask your customers questions, and ask them how they use your product or service. It’s a great way to start a dialogue with your audience. You can also invite members of the audience to be a part of the video by asking them to participate in the shoot. It’s a great way to build relationships with your audience, and give them an opportunity to be a part of your video.

Shooting a Day-In-The-Life film to edit for the web and broadcast commercials

Driving sales through day-in-the-life videos

Once you’re done creating your day in the life video, you can use the video to drive sales. You can create a blog post or an email sequence around your video. You can use the blog post or email sequence to drive traffic to your video, which will help you drive sales. The blog post or email sequence can be used as additional content to go along with your day in the life video. The content can be used to help you sell your product or service, and drive sales. Blog posts and email sequences are great ways to use your day-in-the-life video.

Mike Haller
314-913-5626 stlouiscommercialvideo@gmail.com

There are several things you can do to make sure your video looks professional.

Beyond simply pointing a camera at someone and recording, professional video production is a complex practice that requires planning, execution, and post-production. If you’re producing a professional video for your company, non-profit, or other organization, you may need to hire a videographer. To get the most out of your limited resources, prepare ahead for your next video shoot. This article provides you with some useful suggestions on how to produce a professional-quality video as efficiently and economically as possible.

Professional video production is much more than pointing a camera at someone and pressing record. A video production is a complex process that requires planning, execution, and post-production in order to produce quality results. If you’re working on a professional video project for your company, nonprofit, or other institution, you may require an outside videographer. To get the greatest possible results with the limited resources available, you should prepare in advance. In this article, you will learn how to film a professional-quality video as effectively and economically as possible.

Before starting a project, you should do research and planning.

To make a professional-quality video, you must do plenty of research and planning. To begin, you must determine the purpose of your video. What is your target audience? What is the main message? What is your budget and how much will it cost to employ a film crew? Next, you must account for everything you must do during the shooting phase. It will help you create a comprehensive strategy for every aspect of your video shoot, from the tiniest detail downward. The more prepared you are for shooting, the more smoothly the process will go.

Location and background for filming are important.

The right location is critical when making a professional video. You should assess two factors when selecting a location: the area itself and how close it is to your target audience. A visually appealing space is ideal, but it shouldn’t be too distracting. If you are producing a commercial for your local bakery, it is best to pick a location with a lot of pedestrian traffic. This may be an indication of either professional or low production quality, depending on the quality of the sound and lighting.

Shoot and edit in Ultra HD.

While shooting in 4K may seem like an unnecessary luxury, it can make a big difference in the quality of your video. It is not the resolution of your content that matters most, but its quality. Shooting in 4K and then editing the footage down to 1080p will ensure that you don’t sacrifice quality. You must shoot and edit your video in 4K if you plan to publish it on YouTube. The result will look great on any device. If you plan to broadcast your video on a television network, you must shoot in HD. Because the equipment required to process that much data is expensive, most networks will not accept a 4K feed. Instead, they will accept HD feeds in a variety of formats, including 1080p.

st louis commercial video crew

Creating top-quality audio is what we strive for.

Even if you’re planning to shoot your video in 4K with a pristine, high-quality visual aesthetic, poor audio can thwart all of your efforts. In light of this, you should watch the audio during your shoot carefully. You should always have someone monitoring the audio on set. If you’re shooting outside, you should use a portable windscreen or other type of sound barrier. You can also use a nearby building or other large structure to redirect sound. Recording your audio in a professional sound studio is ideal.

Mike Haller
314-913-5626 stlouiscommercialvideo@gmail.com